

There is something steadying about growing hollyhocks. They rise slowly the first year, get a feel for the soil, and then return with that tall, familiar confidence that cottage gardeners know so well. When I first started growing them, I liked them for their height alone. Over time, I realized they could be so much more than a single tall stem if I paid attention to how they were planted, watered, supported, and shaped early on. Fuller plants, more flower spikes, and a longer bloom period all come down to a handful of practical habits that make a noticeable difference.
This guide is simply what has worked for me season after season. These steps help me coax more structure, more blooms, and a healthier stand of hollyhocks whether they are tucked into a garden bed or planted in pots. It is not complicated, but each step plays a role in how the plants develop. If you want hollyhocks that look intentional and not like they woke up after a windstorm, these habits help create that sense of order without removing the familiar charm that makes them such a classic.
Quickly Find Growing Tips:
1. Choose the Right Spot and Prepare the Soil

Every time I plant hollyhocks, I start by thinking about sunlight first. They really do best when they are not reaching for light or leaning toward the brightest corner of the yard. Full sun gives them stronger stems and more reliable flower development. I look for a spot that gets morning light, afternoon light, or ideally both, because these long hours help them create thicker stalks and more buds. If they are placed somewhere shaded, they tend to stretch, which reduces the amount of blooms they can support later.
Once I settle on the right light, I turn to the soil itself. Hollyhocks do not need anything fancy, but they respond very well to soil that has been loosened and enriched with compost. I work the compost into the top layers and break up any clumps so the roots can move freely as they grow downward. This loose texture also helps with drainage, which is important because standing water encourages rust. A well prepared planting area lets hollyhocks settle in immediately. Even though they establish a long taproot, they still depend on the top layers of soil for nutrients, so I set them up well from the beginning.

2. Start Them Well From Seeds or Transplants
I often start hollyhocks from seed because it is simple and reliable. Direct sowing in early fall or spring works very well. I scatter the seeds on the surface of loosened soil and barely cover them since they need light to germinate. The first year is all about foliage, while the second year brings the flowers, although some varieties bloom in the first season. I keep the soil lightly moist while waiting for germination, and within a couple of weeks the first leaves usually appear.
For the years when I want quicker results, I pick up transplants instead. These need gentle handling because their taproots dislike being disturbed. I plant them at the same depth they were growing in their containers and water them deeply right away to help them adjust. If I have learned anything, it is that strong early growth sets the stage for fuller plants. When seedlings or starts are stressed at the beginning, they never really catch up. A steady start translates into thicker stems and more potential flowering points later in the season.
3. Keep Watering Consistent Without Overdoing It
Watering hollyhocks is a balance I try to maintain throughout the season. They do not like being completely dry, but they also do not handle soggy soil. When the soil dries out too much, the plants send their energy into survival instead of growth, and I end up with tall but thin stems. On the other hand, excess moisture encourages rust and causes yellowing leaves near the base. The trick is to keep the soil evenly moist in the first part of the season when roots are expanding.
I also try to water at the soil line whenever possible. Wet leaves are one of the biggest contributors to rust, so I avoid overhead watering. Early morning watering is ideal because it gives any moisture on the foliage time to dry. As the temperature rises, hollyhocks benefit from a layer of mulch around their roots. It helps keep moisture steady without requiring constant watering. Over time, this consistency creates sturdier plants that can handle dry spells more gracefully.
4. Feed for Bigger, Fuller Blooms

Whenever someone asks me how to coax more flowers out of hollyhocks, I usually start with soil, then move straight to feeding. These plants respond clearly to balanced nutrition. At the start of the season, I add compost or a slow release fertilizer to fuel leaf and root growth. Once the plants reach a good height and I begin to see the first signs of budding, I shift toward a fertilizer that supports flowering. A moderate increase in phosphorus can help create fuller flower spikes with more individual blooms.
The other part of feeding hollyhocks comes from shaping the young plants. Pinching back the early growth feels a little wrong the first time you do it, but it makes a noticeable difference. Removing the growing tips while the plants are still young encourages branching and creates more flowering stems. Instead of one tall stalk, I get a fuller plant with multiple spikes that fill in the vertical space in a more intentional way. The trick is to pinch early before the stems toughen. Once the plants get tall, the window for shaping closes and they commit to their main stalk.
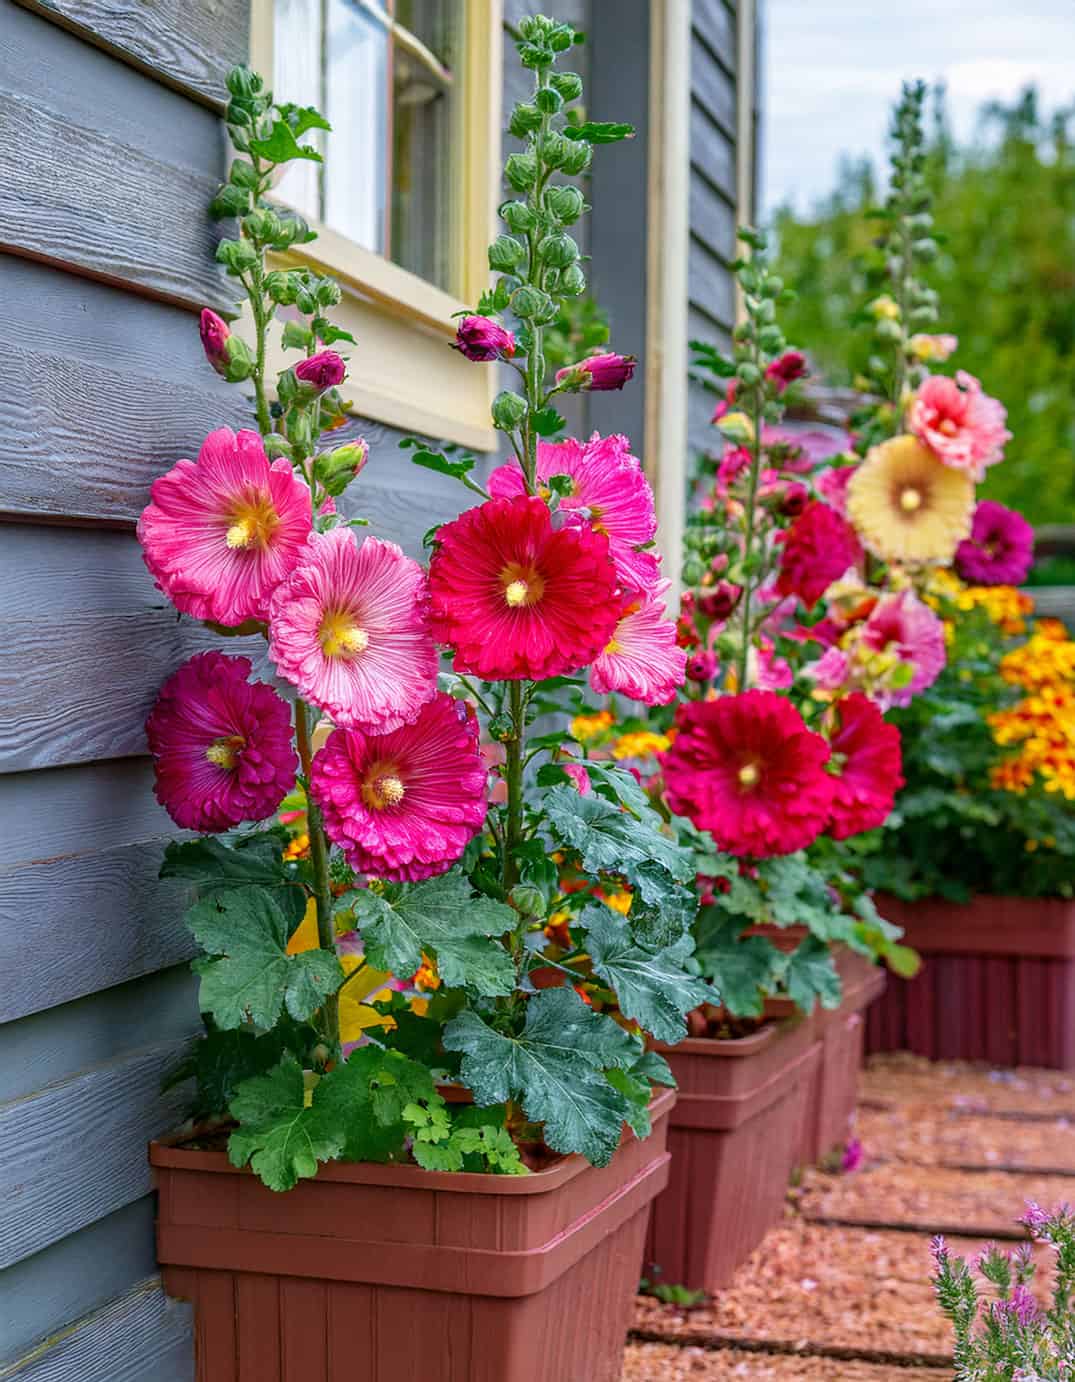
5. Grow Hollyhocks in Pots When Space Is Limited

I used to think hollyhocks were strictly for in ground gardens, but growing them in pots can work surprisingly well. The key is choosing a container deep enough to handle their taproot. A pot at least sixteen inches deep gives them enough room to settle in. I choose a high quality potting mix that drains well but still holds moisture. Since pots dry out faster than garden beds, I check them more often in warm weather. Consistent watering is important because the roots do not have the luxury of spreading outward in search of moisture.
When growing hollyhocks in containers, I also give them support early. A stake added at planting keeps everything tidy later in the season. Dwarf or compact varieties tend to perform best in pots because they maintain their shape without shooting upward quite as dramatically. Still, even taller varieties can work if they are given a sturdy container and something to lean on during windy days. Pot grown hollyhocks will not always get as tall as those in the ground, but they still produce generous blooms and can be moved around to suit the space.
6. Pair Hollyhocks With Companion Flowers That Balance Their Height
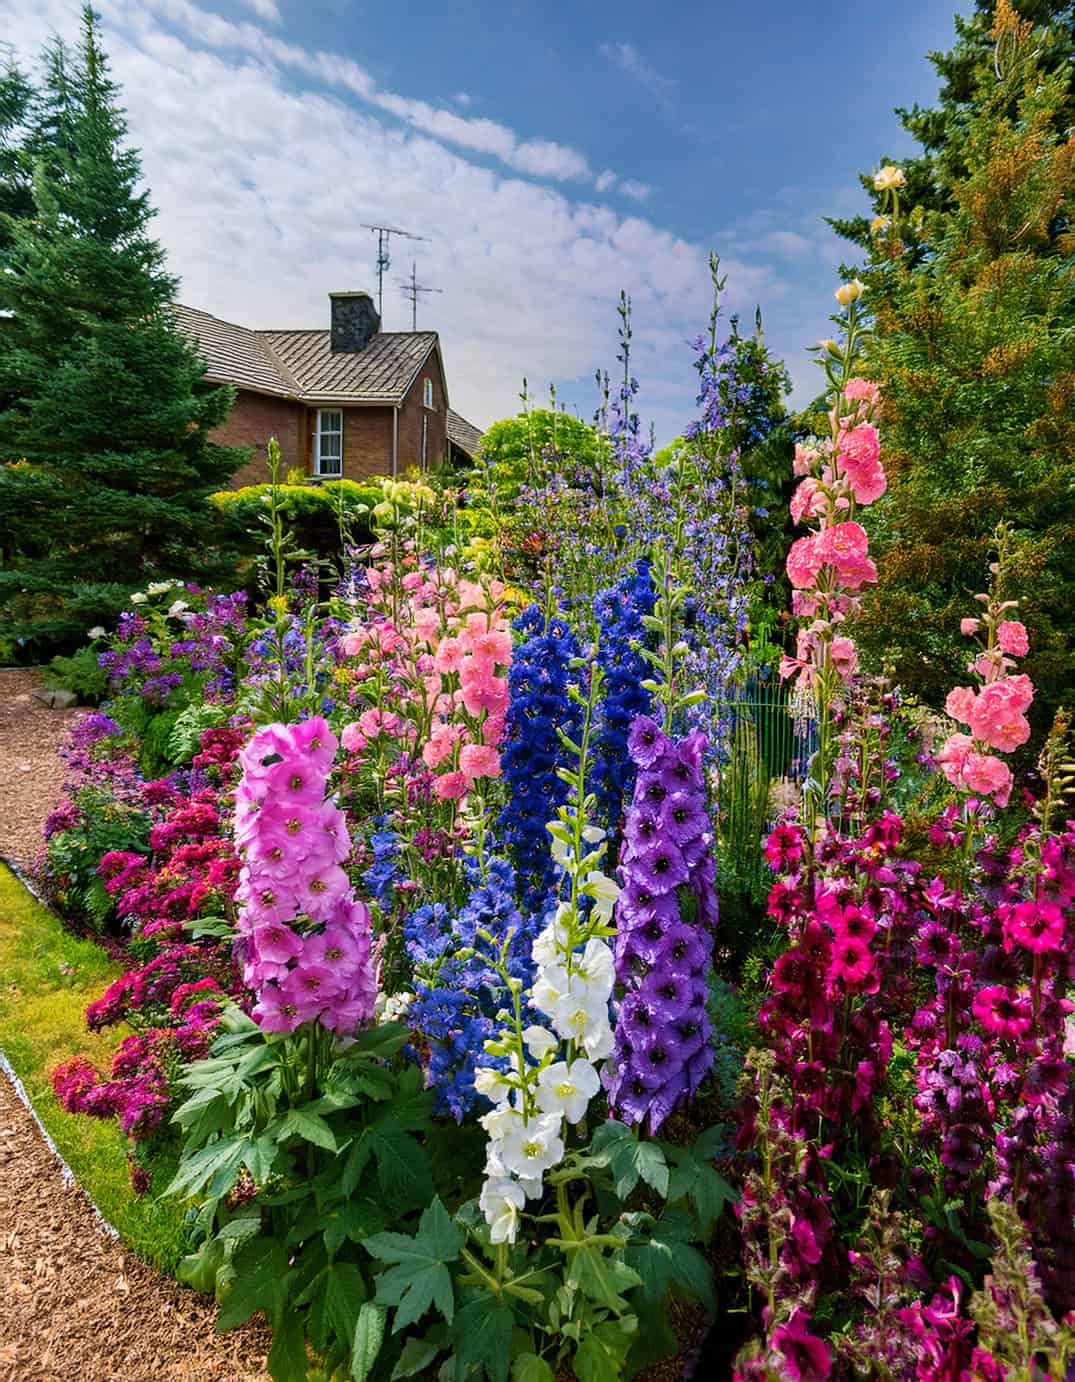
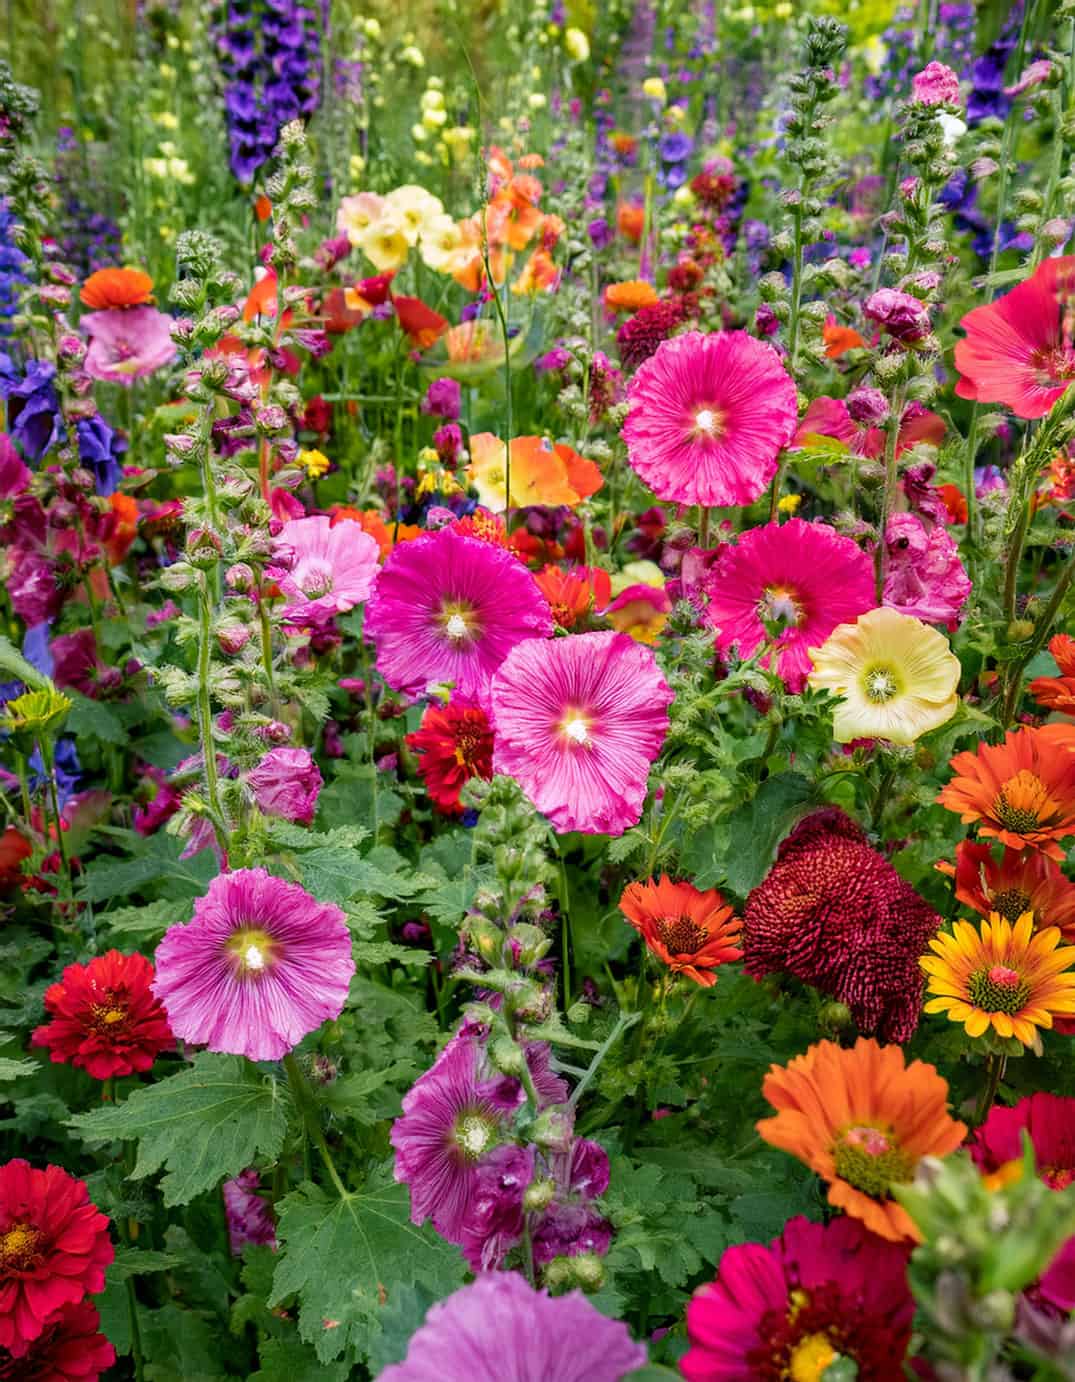
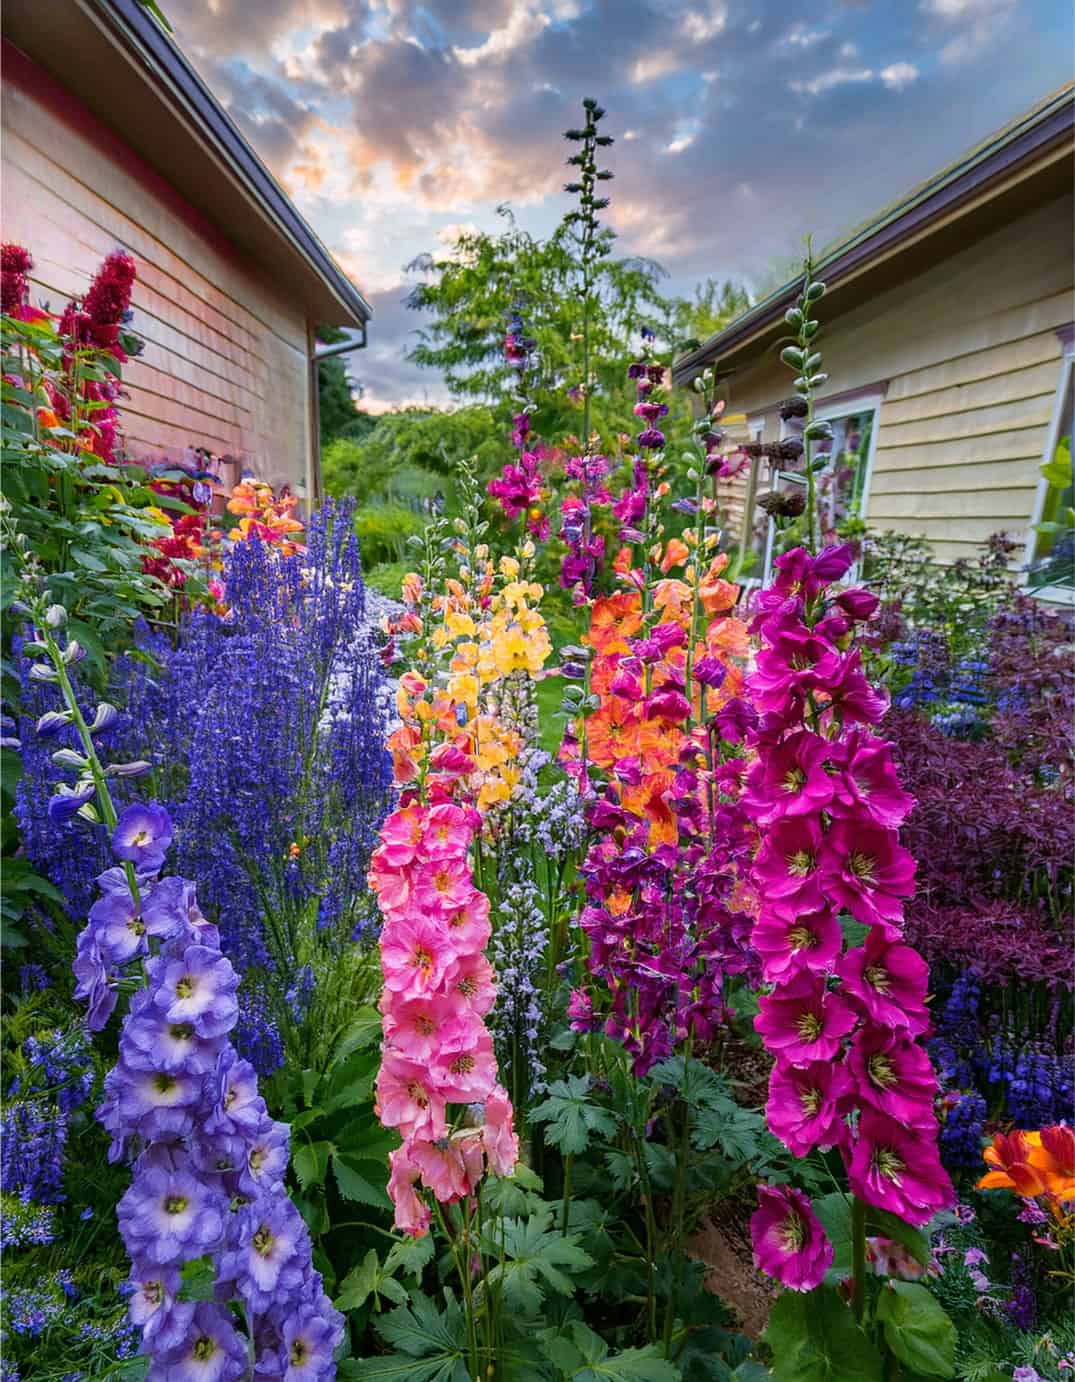
One of my favorite parts of growing hollyhocks is deciding what to pair them with. They have a natural height that begs for grounding at the base, so I look for plants that add layers around their stems. Good companions include phlox, bee balm, foxglove, delphinium, shasta daisies, and even roses. These plants bring their own texture and height but also help hide the bare lower stems hollyhocks often develop. As the season progresses, the lower leaves of hollyhocks tend to thin out. Companion plants fill that gap visually and create a more cohesive look.
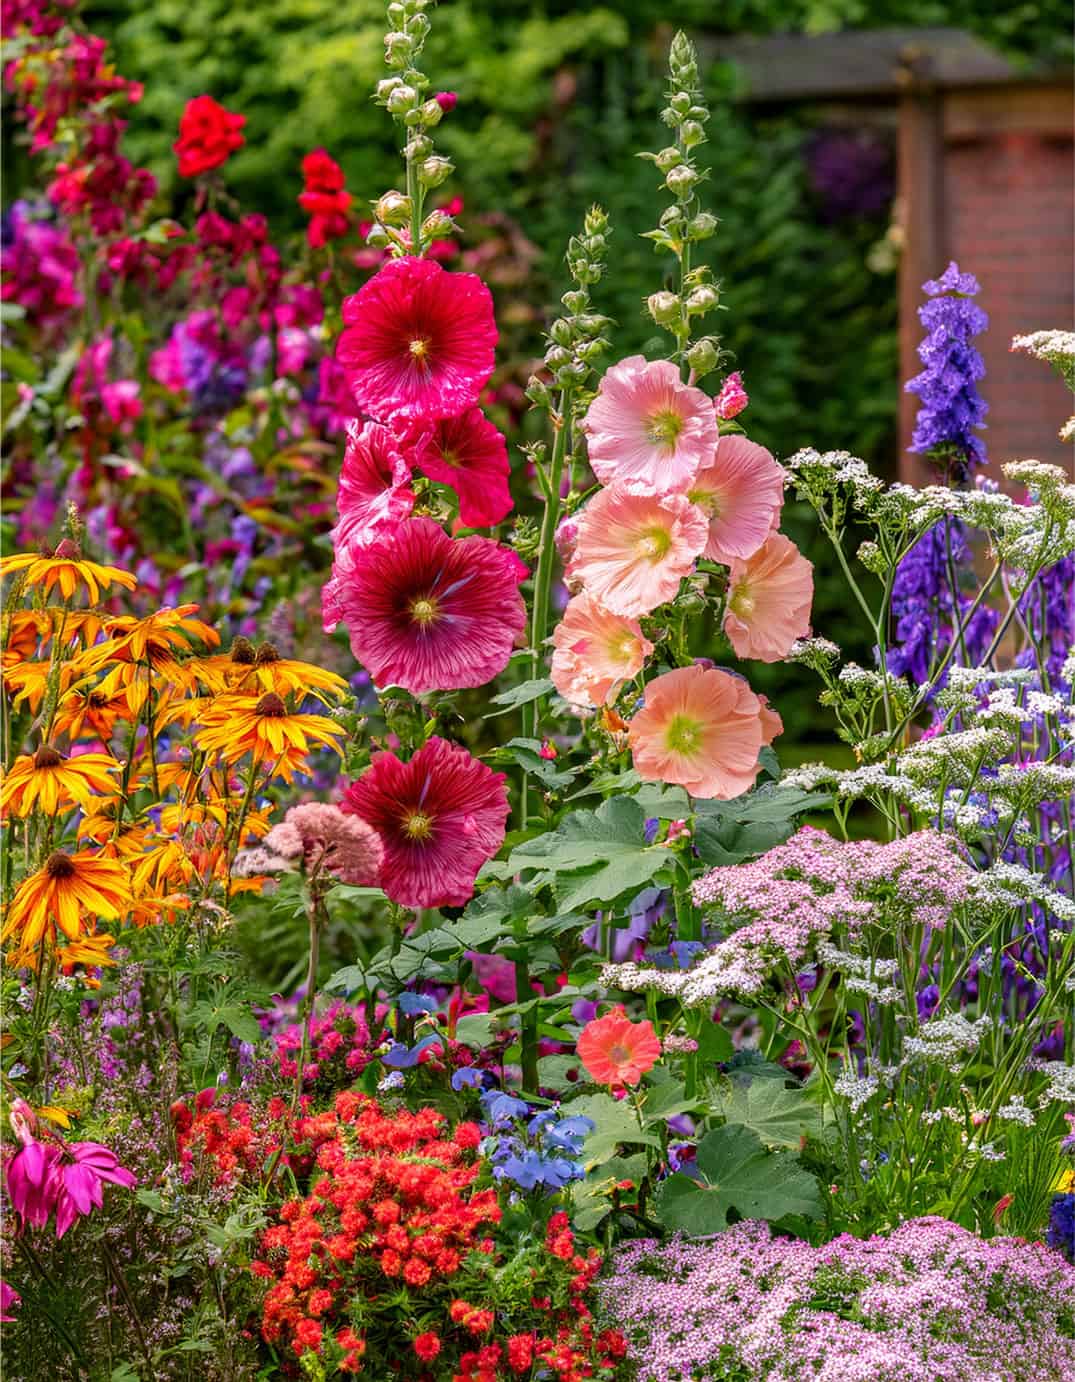
These pairings are not just about aesthetics. Many of these flowers draw pollinators, which helps increase the overall health and productivity of the garden. Bee balm, for example, brings in hummingbirds and bees. Phlox invites butterflies. Together, these plants create a small ecosystem that supports the hollyhocks rather than leaving them standing alone. When I plant hollyhocks now, I almost always think in layers. This approach creates a fuller look both horizontally and vertically, and it enhances the garden long after the hollyhocks finish their bloom cycle.
7. Keep Plants Healthy and Supported Throughout the Season
Healthy hollyhocks are easier to keep full and productive, so I focus on two things as the season unfolds: support and airflow. Even the compact varieties can topple in a strong wind, so I stake them early before the stems toughen. A simple stake and soft tie are all they need. This helps them stay upright even when the flower spikes become heavy. The other part is managing airflow. Because hollyhocks are prone to rust, I remove older leaves near the base as the season progresses. This keeps the air moving and reduces the chance of disease.
After the bloom cycle ends, I decide whether to let them self seed. If I want new hollyhocks next year, I leave a few spent flowers on the plant to dry and release their seeds. If I prefer a tidier look, I cut the stalks back after flowering. This cleanup encourages the plant to focus on root health and energy storage. Over time, a well maintained hollyhock patch becomes more reliable, fuller, and easier to manage. Some plants return with improved vigor simply because they have been cared for consistently year after year.
Final Thoughts
Growing hollyhocks becomes more rewarding the longer you work with them. Each season teaches something different, and the plants themselves respond to even the smallest adjustments. Fuller growth, more flower spikes, and a healthier patch all come from steady habits rather than complicated routines. When they are given good soil, steady water, thoughtful shaping, and the right companions, hollyhocks thrive in a way that feels natural rather than forced. I like them most when they blend into the garden as tall, familiar anchors that return reliably each year.