

I picked up a few turmeric roots on a regular grocery run, mostly out of curiosity. They looked almost identical to ginger, and after having some success growing ginger at home, I figured it was worth trying. I expected it to be slow or finicky. It turned out to be neither.
Turmeric does take time, but the process is simple once it is set up. It grows quietly in the background, and months later you end up with something you would normally only ever buy. That shift from store-bought to homegrown is what makes it interesting.
Here is exactly how I grow turmeric at home, starting with nothing more than a few pieces from the supermarket.
1. Start with Fresh, Firm Turmeric Roots
The first step is choosing the right turmeric at the store. Not every piece is going to grow, so it is worth taking a minute to look closely.

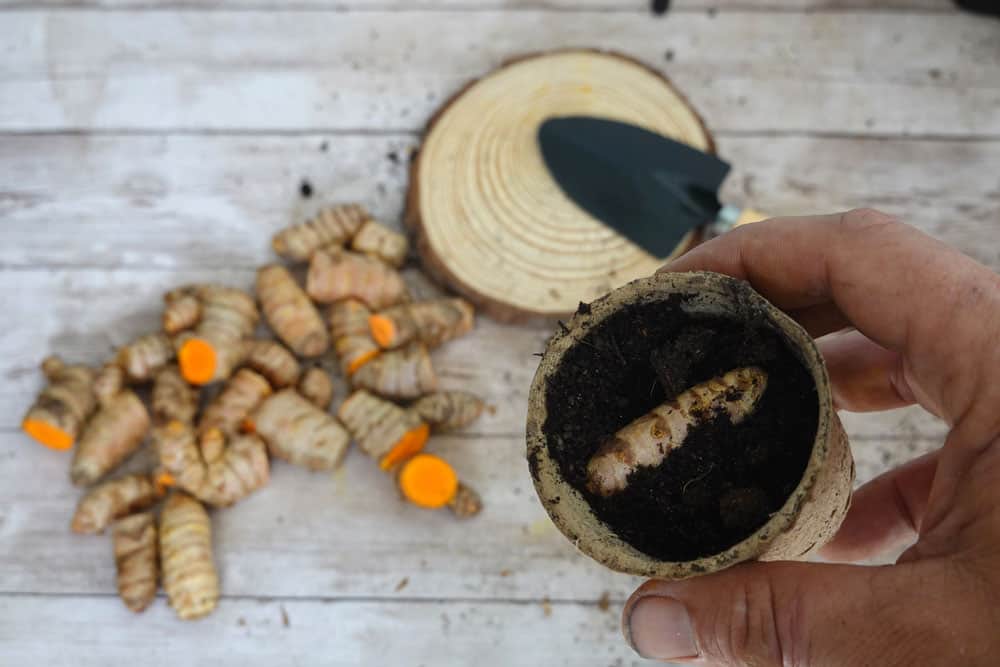
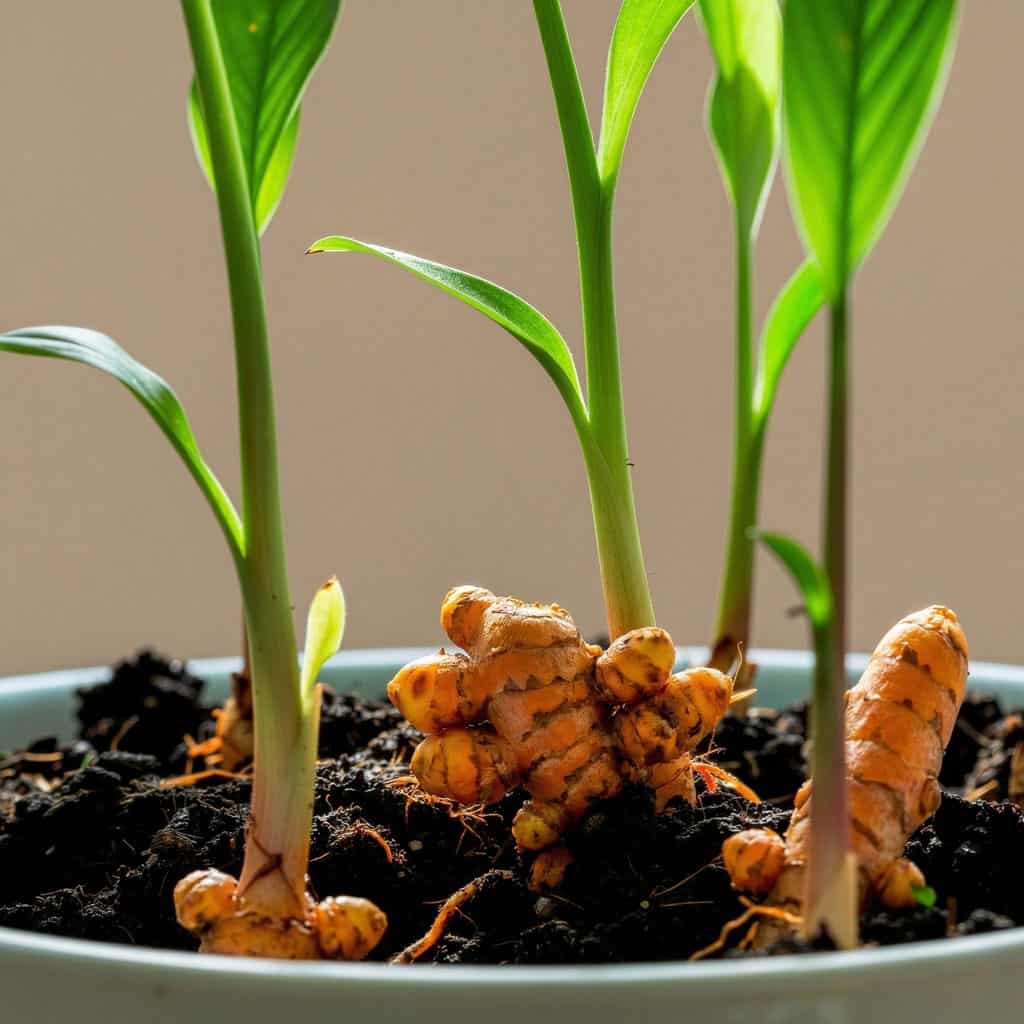
I look for rhizomes that feel firm and hydrated, not dry or shriveled. If you can find pieces with small bumps or nodes, those are the growth points. They are similar to the “eyes” on a potato. Some grocery store turmeric already has these starting to form, which gives you a head start.
Organic turmeric tends to perform better for this. Conventionally grown roots are sometimes treated to prevent sprouting, which works against you here. It does not mean they will not grow, but your success rate can be lower.
I usually buy a few extra pieces and treat it as a numbers game. Even if only a couple take off, that is more than enough to get started.
2. Let the Rhizomes Pre-Sprout
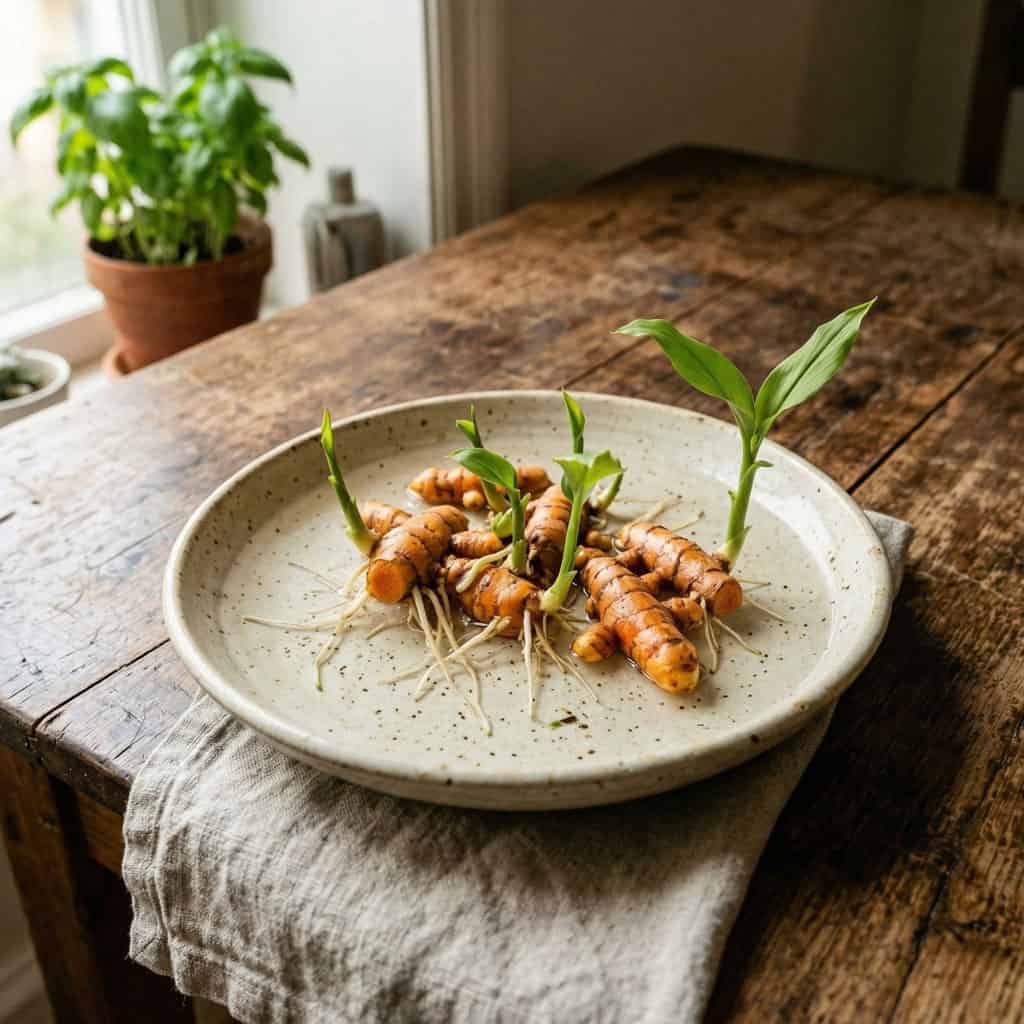
If your turmeric already has visible buds, you can plant it right away. If not, I have found it helps to let it sit for a few days to wake up.
I leave the rhizomes in a warm spot with indirect light. A kitchen counter works fine. Within a few days to a week, you may start to see small green or pale shoots forming at the nodes.
This step is not required, but it does make a difference. Pre-sprouted turmeric tends to establish faster once it is in soil. It removes a bit of the guesswork and lets you know the root is viable.
It is a small pause at the beginning that saves time later.
3. Choose a Wide, Shallow Container
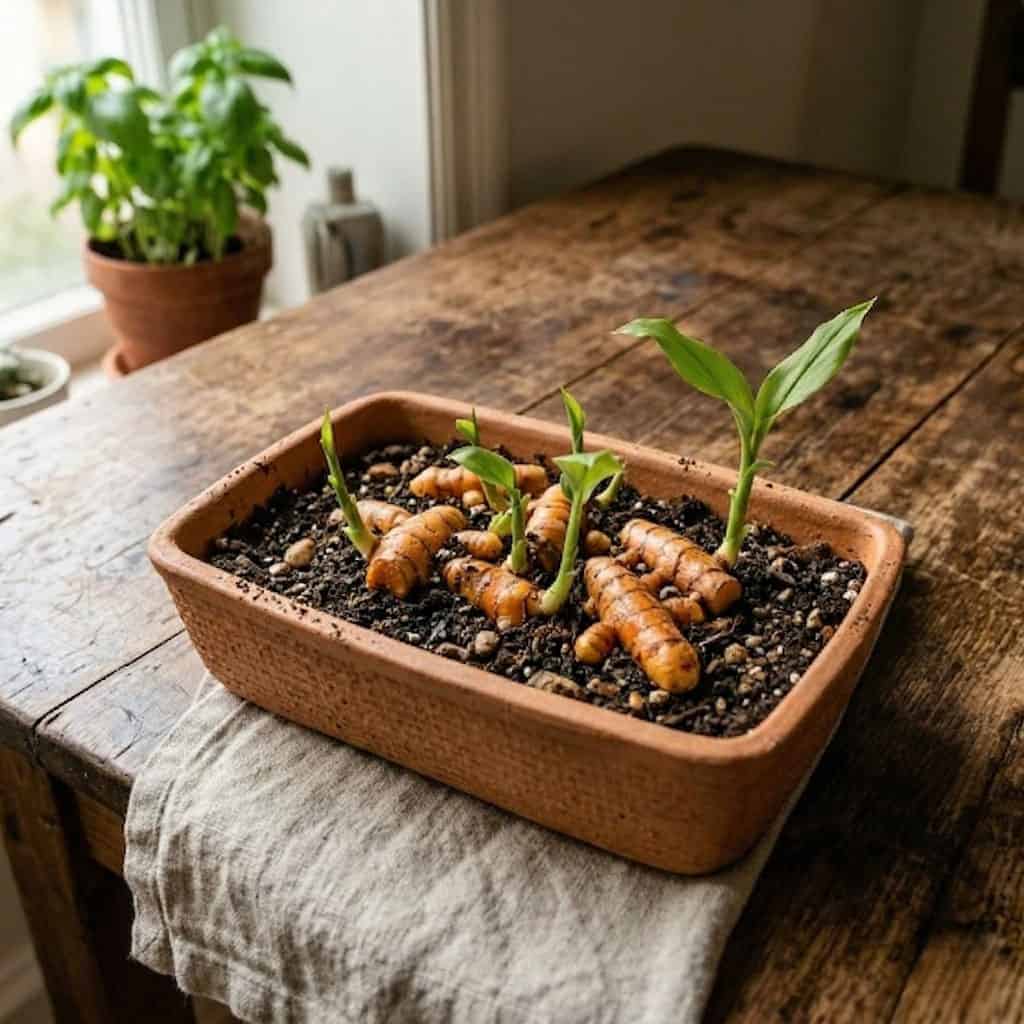
Turmeric grows horizontally, not deep into the soil. That is one of the first things that surprised me.
Instead of reaching downward like a carrot, it spreads outward just below the surface. Because of that, a wide container is more important than a deep one.
I use a pot that is at least 12 inches wide with drainage holes. If you have something larger, even better. The more room the rhizomes have to expand, the more they will produce.
Drainage is non-negotiable here. Turmeric likes moisture, but it does not tolerate sitting in water. A pot without drainage will almost always lead to rot before you see any real growth.
You do not need anything decorative or expensive. A basic nursery pot works perfectly.
4. Use a Loose, Well-Draining Soil Mix
Soil is where a lot of people run into trouble with root crops. It is easy to assume richer or heavier soil is better, but turmeric prefers something lighter.
I use a standard potting mix and blend in a bit of compost. The goal is to create something that holds moisture without becoming dense or compacted.
If the soil stays too wet, the rhizomes can soften and rot. If it dries out too quickly, growth slows down. A loose mix gives you a buffer between those extremes.
Indoor growing tends to dry out more slowly than outdoor containers, so I lean slightly lighter on compost when growing inside. It keeps things balanced and easier to manage.
5. Plant Just Below the Surface
Planting turmeric is straightforward once your container and soil are ready.
I lay each rhizome flat and cover it with about two inches of soil. The buds should be facing upward, or at least not buried too deep. They will find their way, but orientation helps.
Spacing matters more than it seems at first. Even though the roots start small, they spread as they grow. I leave a few inches between each piece to give them room to expand.
After planting, I water the soil lightly to settle everything in place. From there, it is mostly about maintaining the right conditions.
6. Keep It Warm and Consistently Moist
If there is one factor that determines success with turmeric, it is warmth.
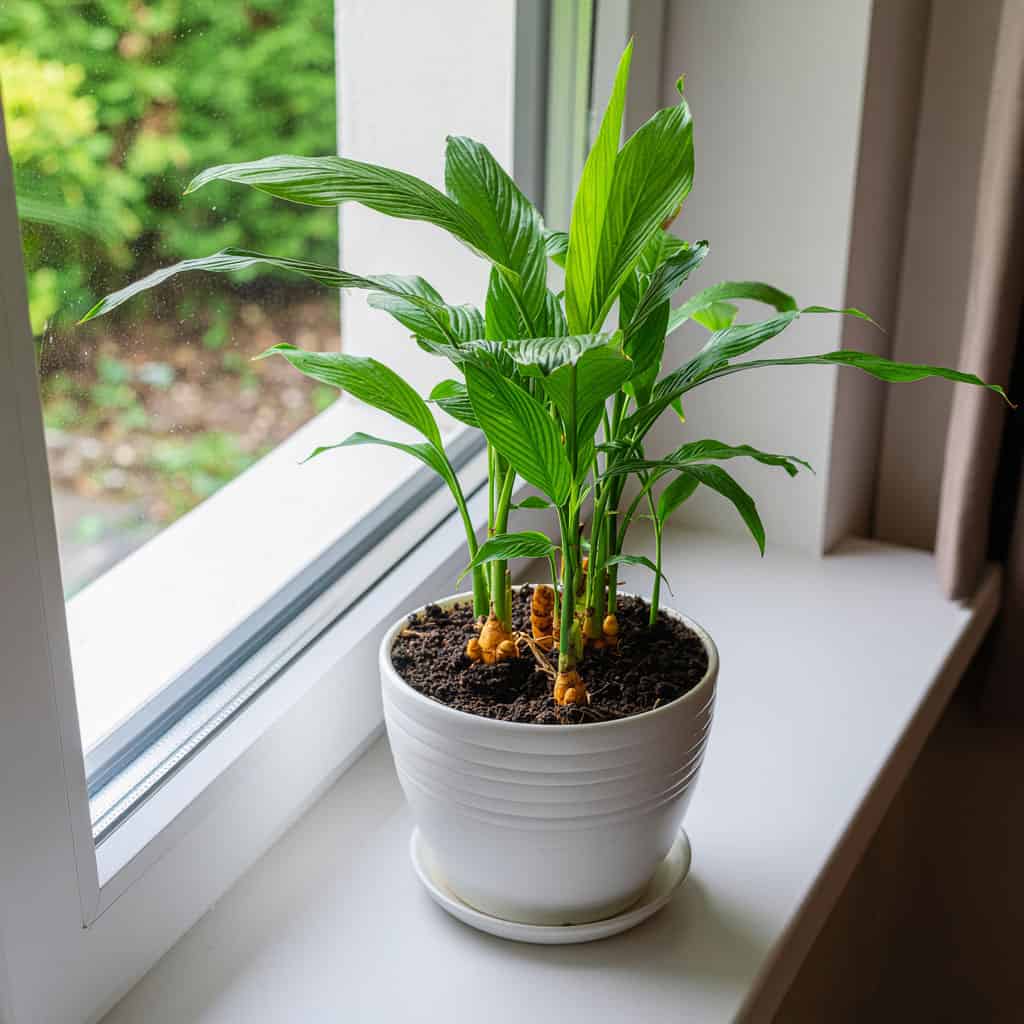
This is a tropical plant. It does not like cold temperatures or sudden swings. I keep mine in a bright spot indoors where it gets indirect sunlight and stays consistently warm.
A sunny windowsill works, as long as it does not get too cold at night. If your space runs cooler, placing the pot near a warmer part of the house can make a noticeable difference.
Watering is steady but not excessive. I wait until the top inch of soil dries out, then water thoroughly. The goal is to keep the soil evenly moist without letting it become saturated.
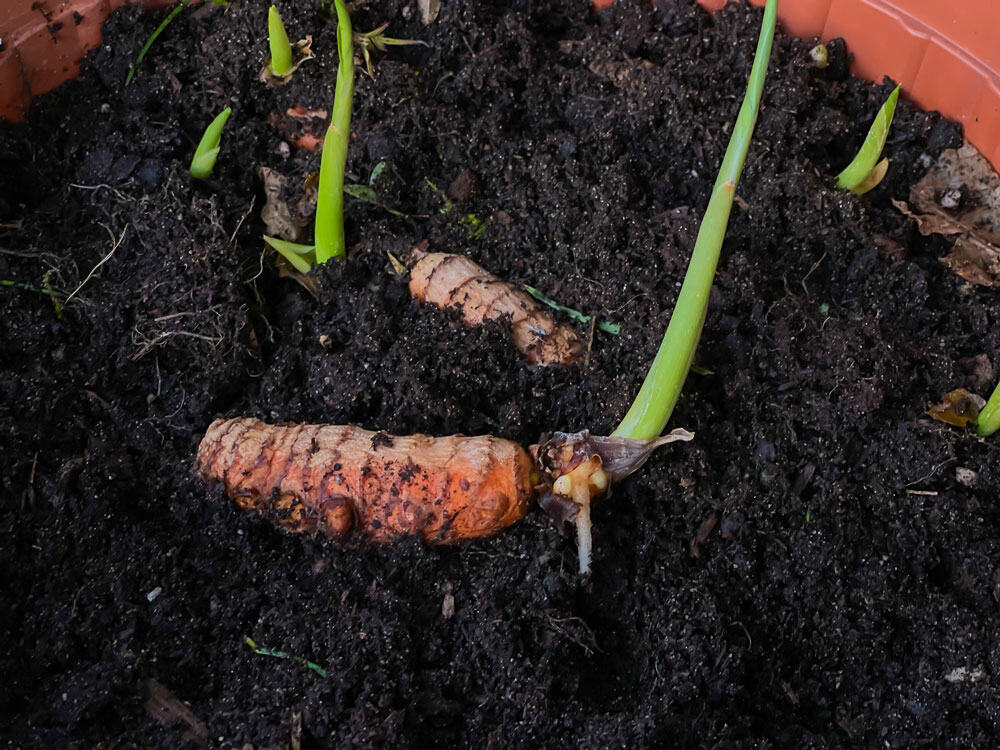
In the early stages, it can feel like nothing is happening. Growth starts slowly. Once the shoots break through the surface, things begin to pick up.
7. Be Patient… Then Harvest

Turmeric is not a fast crop, and that is part of the process.
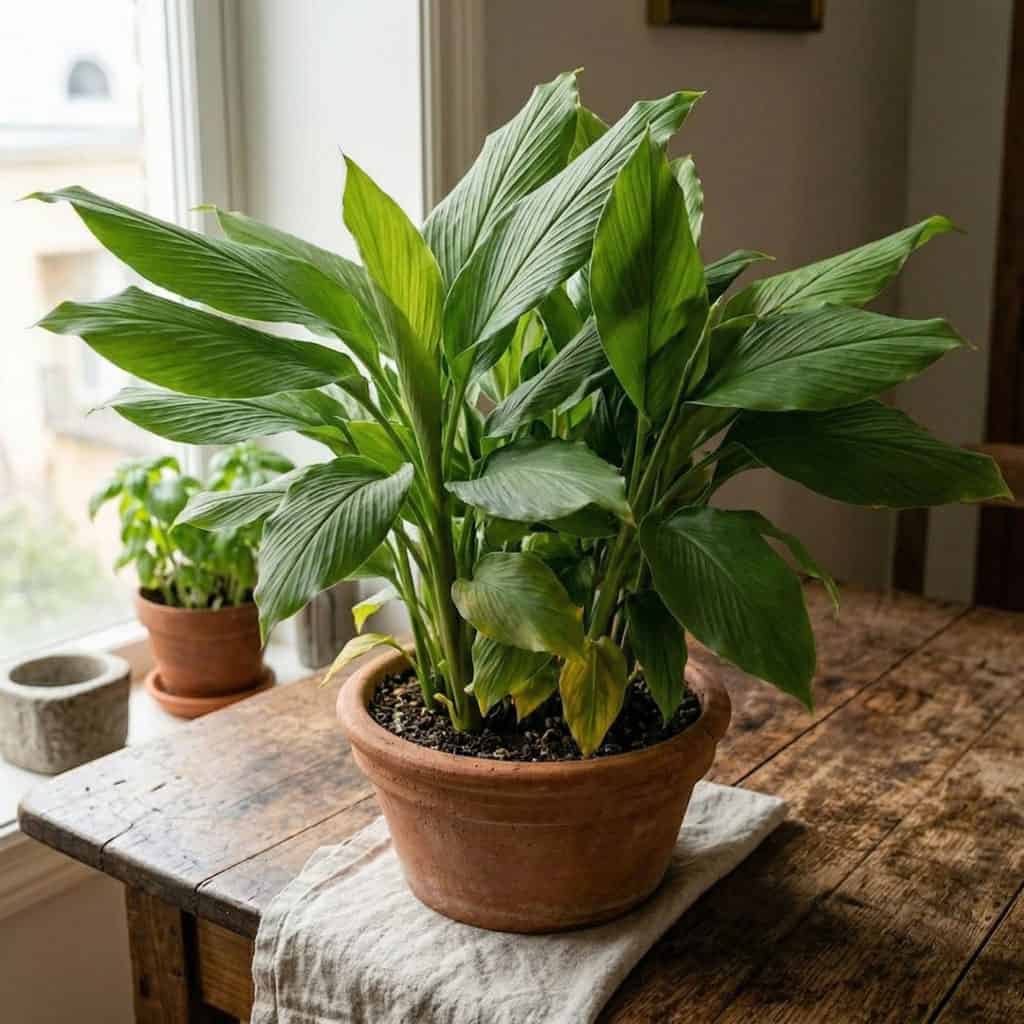
For the first few weeks, you may only see small shoots. Over time, those develop into leafy stems that resemble a broad, tropical plant. It becomes more ornamental than you might expect.
The full cycle usually takes around 8 to 10 months. Toward the end, the leaves will begin to yellow and die back. That is your signal that the rhizomes below are ready.
Harvesting is simple. I tip the container over or gently dig into the soil and lift out the roots. The difference between fresh, homegrown turmeric and what you buy at the store is noticeable right away, both in color and aroma.
You can replant a portion of what you harvest and start the cycle again.
8. How to Get Turmeric to Flower
Most people grow turmeric for the roots, but the plant can also produce flowers under the right conditions. It is not something you see often indoors, which makes it more interesting when it happens.
The biggest factor is time. Turmeric usually needs to mature beyond its first growing cycle before it flowers. If you harvest everything at the end of the season, you reset that clock. Leaving some rhizomes in place gives the plant a chance to continue developing.
Light and warmth become more important at this stage. While turmeric tolerates moderate light for basic growth, flowering tends to require brighter conditions and stable warmth over a longer period.

I have found that the best approach is to let a healthy plant continue into a second season without disturbing it. Keep the soil consistent, maintain warmth, and avoid cutting it back too early.
When it does flower, the bloom emerges from the center of the plant and has a clean, almost sculptural look. It is subtle, but it adds a completely different dimension to something that is usually grown for food.
It is not guaranteed, but it is worth allowing for.
Common Mistakes to Avoid
A few small adjustments can make a big difference with turmeric. These are the ones I see come up most often.
Planting in soil that stays too wet is the fastest way to lose a crop. Drainage and soil structure matter more than anything else.
Using containers that are too small limits how much the rhizomes can expand. Even if the plant grows above the surface, the yield below will be restricted.
Expecting fast results leads to unnecessary changes. Turmeric takes time. Once it is planted, it is better to stay consistent than to keep adjusting conditions.
Not giving enough warmth slows everything down. Even a few degrees can affect how quickly it establishes.
Harvesting too early cuts the process short. Waiting until the plant signals it is ready makes a noticeable difference in the final result.
Final Thoughts
Turmeric ended up being one of those plants that feels more complicated than it actually is. Once it is planted and in the right conditions, it mostly runs on its own timeline.
What I like about it is how quietly it fits into a space. It grows without much attention, then months later gives you something useful and unexpected.
If you have already tried growing ginger at home, this is a natural next step. The process is familiar, but the result feels new enough to make it worth doing again.