


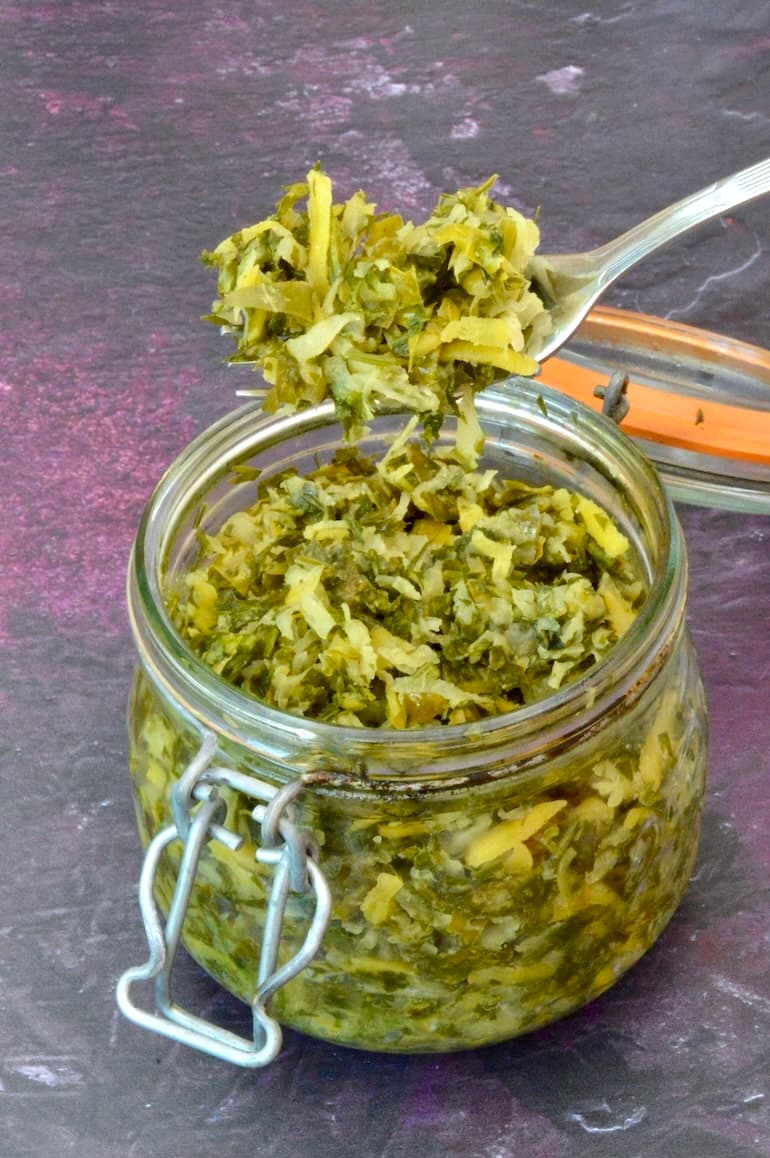
This vibrant green fermented kohlrabi combines kohlrabi with carrot tops, carrot, spring onion and coriander for a fresh, crunchy kraut-style ferment. If you’re new to fermenting vegetables it’s a good one to start with as it ferments quickly and easily. It’s crisp, mild, sweet and slightly fizzy – a delicious addition to sandwiches, grain bowls, cheese boards and more.
This post may contain affiliate links. As an Amazon Associate, I earn from qualifying purchases. See my cookie and privacy statement for further details.
We eat a lot of fermented vegetables in our house, mostly sauerkraut and kimchi. CT is the sauerkraut maker and we generally buy kimchi, but this particular vegetable ferment is mine. I make it whenever we get kohlrabi and carrot tops in our fortnightly Riverford organic veg box (affiliate link).
Dive Right In
Why Ferment Vegetables
People have been fermenting vegetables for thousands of years, long before refrigeration was an option. It’s a simple way to preserve a seasonal glut while developing deeper flavour and a pleasant piquancy. The process also encourages beneficial bacteria to flourish, which makes fermented vegetables an increasingly popular gut-friendly addition to many diets around the world.
The method is quite an easy one. At its most basic, it involves chopping vegetables, combining them with salt and leaving them to lacto-ferment for a few days or weeks, depending on the vegetable and the result you’re after. Modern ferments usually include a bit more by way of flavouring. This is usually herbs and/or spices
Lacto-fermentation is an excellent way to preserve vegetables naturally without the need of either cooking or vinegar. Salt draws out the vegetable’s juices creating an oxygen-free brine where harmful bacteria are unable to thrive. Beneficial wild Lactobacillus bacteria are everywhere. They love the brine and proliferate there, transforming the plant sugars into sour lactic acid which in turn helps to preserve the veg.
Fermenting vegetables with salt is quite an ancient tradition. No one knows for sure when it started, but it was at least over 6,000 years ago.
This fermented kohlrabi is a good one to start with as it’s easy to make and doesn’t take too long to do its thing.
Why You’ll Want To Make Fermented Kohlrabi
- A delicious way to use kohlrabi – perfect if you’re growing it yourself or have one lurking in the veg drawer.
- Makes the most of carrot tops – a tasty way to reduce food waste instead of throwing them away.
- Fresh, crisp and colourful – a vibrant green ferment with a mild, slightly sweet flavour.
- Easy to make – just grate, chop, mix, pack into a jar and let nature do the rest. If you’ve never tried lacto-fermentation before, it’s one of the easiest ferments to start with.
- Naturally preserved – lacto-fermentation transforms fresh vegetables into a tangy, long-lasting condiment.
- Versatile – delicious with sandwiches, salads, grain bowls, cheeses or alongside hearty meals.
- Budget-friendly – made with simple ingredients and no special equipment required.
Fermented Kohlrabi and Carrot Tops
This beautiful green sauerkraut style ferment swaps cabbage for grated kohlrabi and includes both carrot and carrot tops to create a gut-friendly fresh and crunchy condiment.
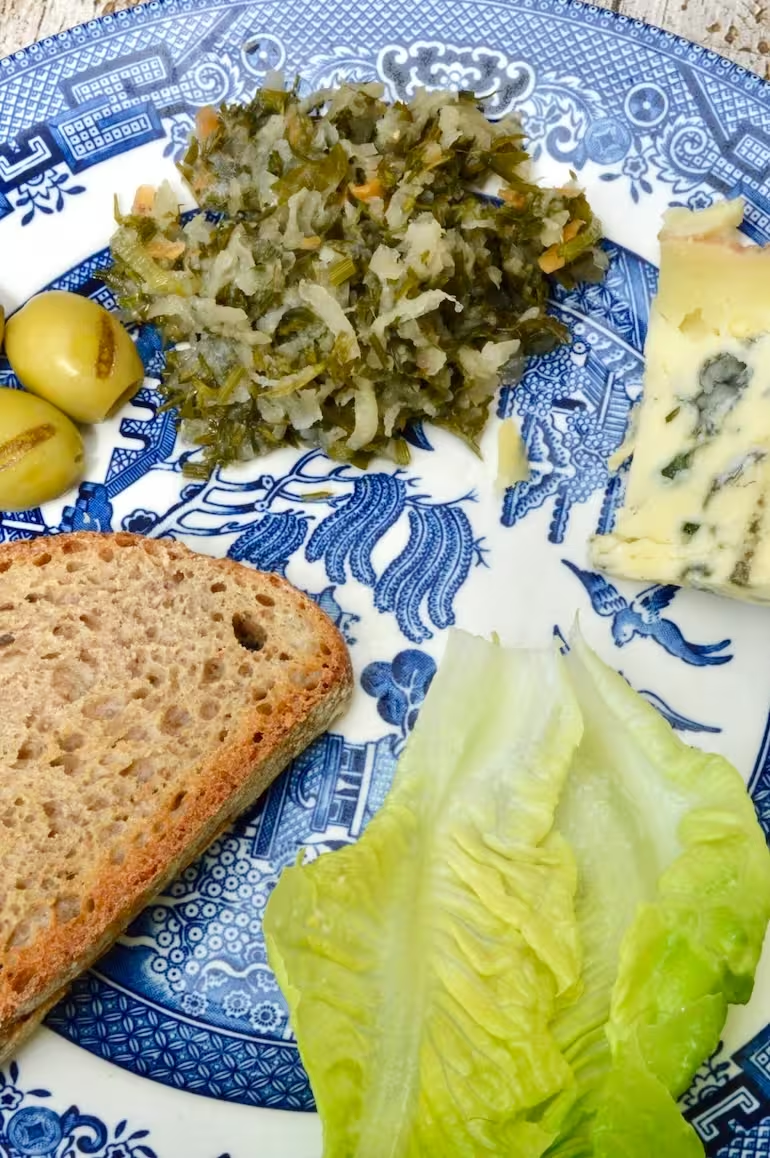
Carrot and coriander is a classic flavour combination, so not surprisingly ground coriander works very well here. The only other addition is spring onion (scallion) which adds a little welcome pungency.
Using carrot tops is a great way to reduce food waste and although dealing with them in addition to peeling and grating the kohlrabi requires a bit of effort, it’s so worth it. This ferment is ace!
It’s a good one for beginners too as it’s almost guaranteed to work. In fact it’s the fizziest vegetable lacto-fermentation I’ve yet come across. The warmer the weather, the more it fizzes as it ferments.
I like to eat it with toast and cheese, but it makes a welcome addition to almost any meal.
Ingredients, Additions and Substitutions
You only need six ingredients to make this super easy probiotic ferment and one of those is salt.
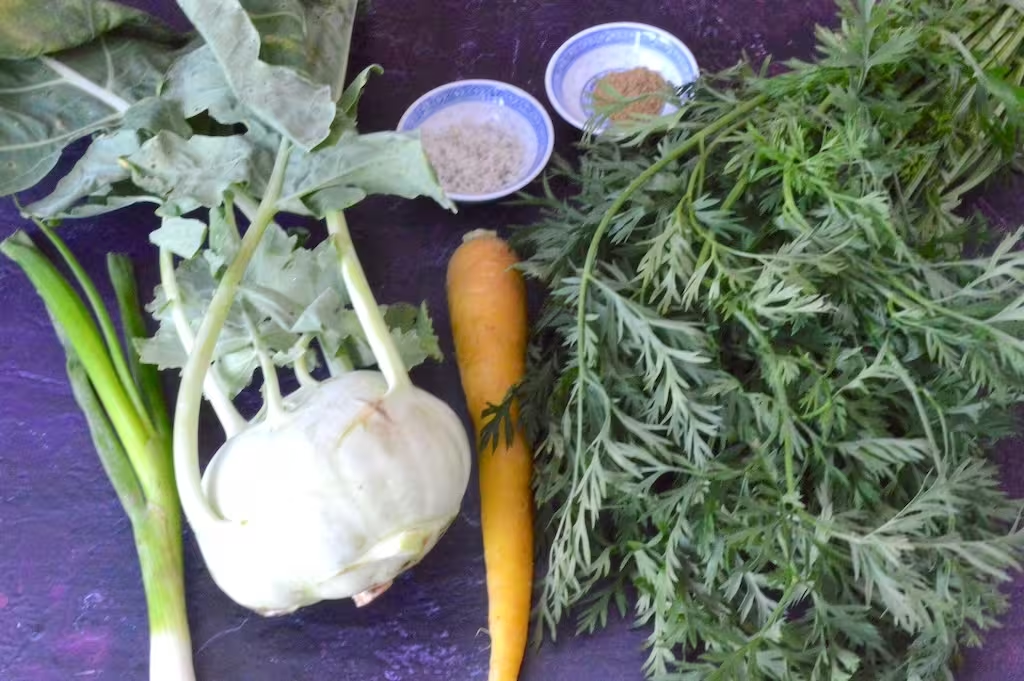
Kohlrabi
Kohlrabi looks a bit like a root, but it is in fact a modified stem. It’s a cruciferous vegetable belonging to the Brassica family and is related to cabbage, kale and broccoli. The bulb comes in three main colours, purple, green and white. Once peeled though, the flesh is always a pale greenish white.
Both the bulb and leaves are edible and you can eat them raw or cooked. Although the skin is tough and fibrous, once removed the flesh is crisp and sweet. It’s a bit like a cross between a radish and broccoli stem. The leaves are very similar to kale.
As with most vegetables, kohlrabi is packed with vitamins, minerals and antioxidants. It’s particularly rich in vitamin C, vitamin B6, potassium and both soluble and insoluble fibre. (Ref: Healthline)
Carrot Tops
If you grow your own carrots, shop at a farmer’s market or get a veg box, you’ll likely have plenty of carrot tops to deal with at some point. You could throw them into the compost bin, but it makes much more sense to just eat them.
Having said that, look out for fresh green leaves that haven’t dried out. If they’re still green, but looking a bit ropey, you should be able to revive them in some cold water. But if they’re at all yellow, they’ll be tough and inedible, so onto the compost heap they go.
The key is to use them as soon after picking as you possibly can.
If you don’t have carrot tops, this ferment is well worth making anyway. Just swap the tops for more grated carrot and maybe add some roughly chopped parsley.
Carrot
Although this is a kohlrabi slaw, I’ve added a carrot as a nod to the carrot tops. It adds a different flavour, texture and flecks of colour. As there’s only one, it doesn’t detract from the fairly subtle flavour of kohlrabi.
I used a yellow carrot in the images you can see here. I liked the way the colour brought out the green of the carrot tops and kohlrabi leaves.
If you can’t get hold of kohlrabi, you could make this slaw with carrots and carrot tops instead.
Aromatics
Ground coriander and spring onion add a subtle aromatic lift without overpowering the vegetables.
Swap the spring onion for a finely chopped shallot, if you like and instead of coriander try half a teaspoon of dill seeds or the finely grated zest of a lemon.
Salt
Salt is absolutely key to lacto fermenting vegetables. It draws out water, helps to stop spoilage and creates just the right environment for lactic acid bacteria to thrive and multiply.
The more unrefined the salt, the better, so go for sea or rock salt rather than table salt. Table salt usually contains caking agents and added iodine which can alter the colour and flavour and may slow down the rate of fermentation.
I use grey Celtic sea salt (affiliate link).
How To Make Fermented Kohlrabi
This fermented kohlrabi recipe is ideal for small-batch preserving. However, if you want to up the quantities, just double, triple or quadruple the amounts given in the recipe card below. You’ll just need to use a larger jar or more jars.
Please refer to the recipe card at the bottom of this post for exact method and quantities of ingredients used.
Step 1. Prepare Kohlrabi
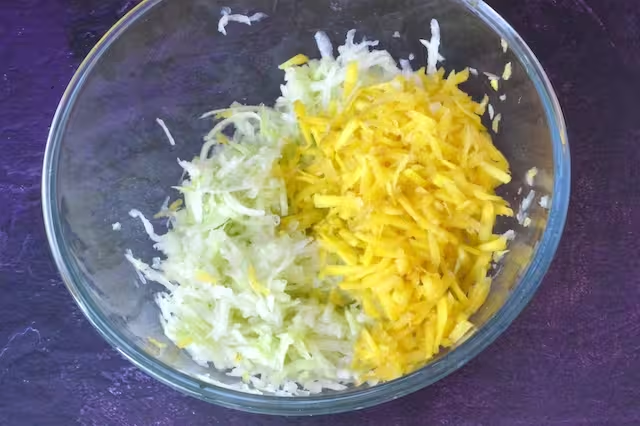
Remove the leaves from the kohlrabi and put them to one side. Peel off the skin and fibrous outer layer then grate the bulb into a large mixing bowl. I use a box grater for this, but you can use a food processor instead.
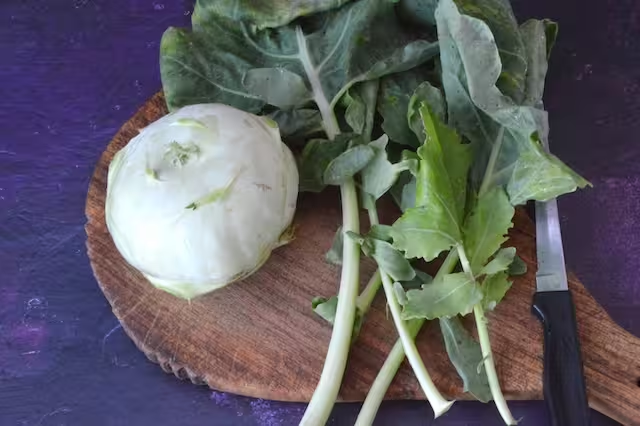
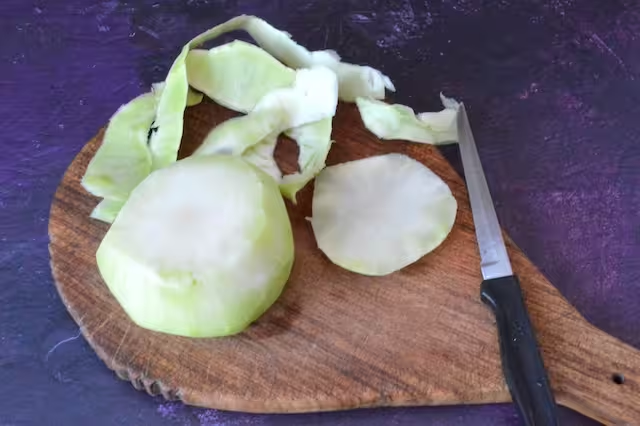
If the stalks are tender, finely chop them and add to the bowl. Take any fresh and tender kohlrabi leaves and finely slice them. Add those to the bowl too. Keep one sturdy leaf to top the jar later.
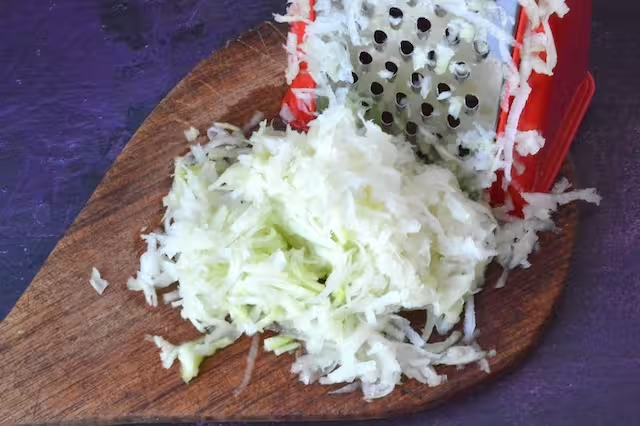
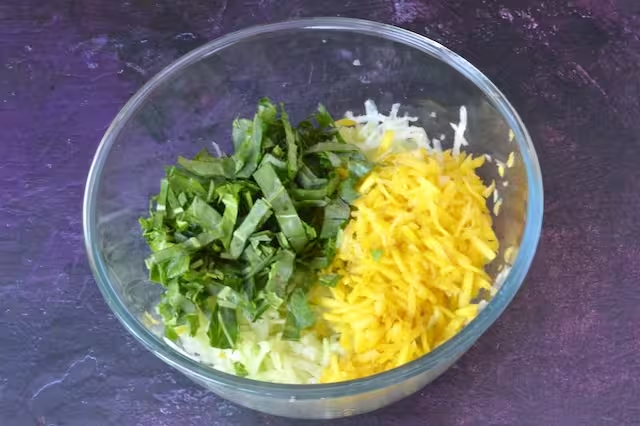
Step 2. Prepare Carrot
Scrub the carrot, top and tail it, then grate it and add to the bowl.
Step 3. Prepare Carrot Tops
Wash the carrot tops well and give a good shake to remove any excess water. Cut off the hard stems and discard.
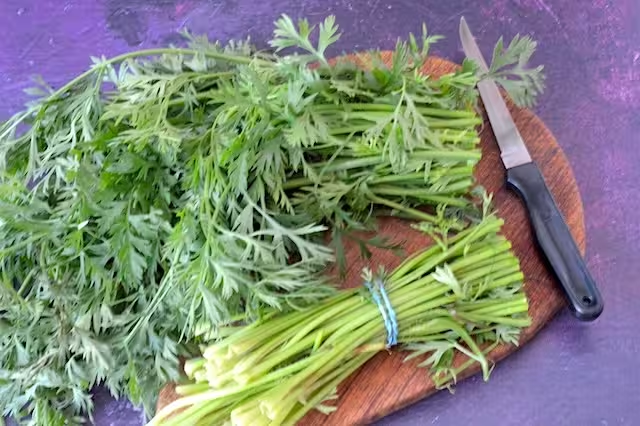
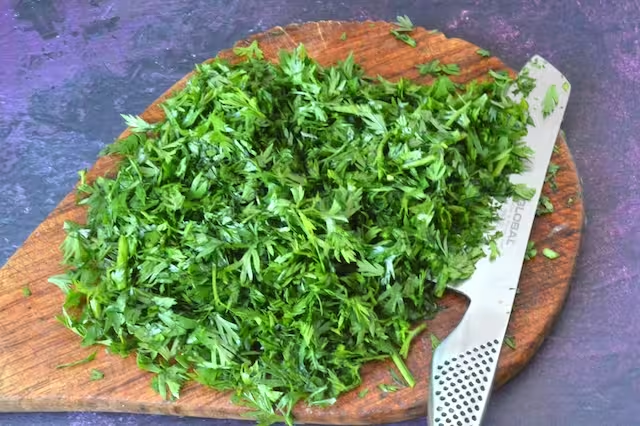
Pick off any bits that are past their best, then finely chop the fronds with a sharp knife and add to the bowl.
Step 4. Add The Rest
Trim the onion, then finely slice and add to the bowl. Spoon in the salt and coriander.
Top Tip – when making vegetable ferments you need 2% salt to veg. So for 500g of veg, you’ll need 10g of salt.
Step 5. Massage Veg
Using clean hands, scrunch everything together. Keep scrunching until the veg has significantly decreased in volume and you’ve extracted a decent amount of juice. Kohlrabi is quite watery, so it doesn’t take long.
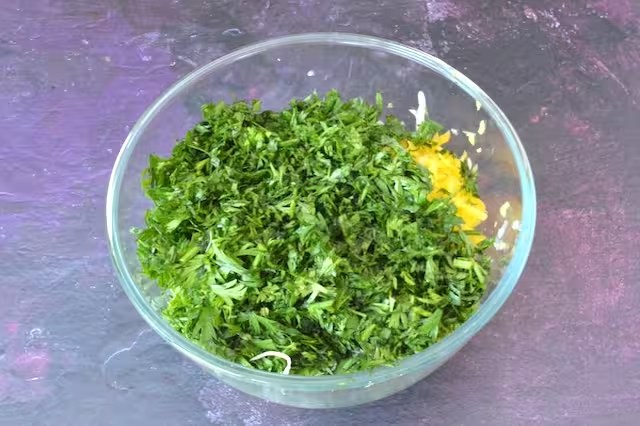
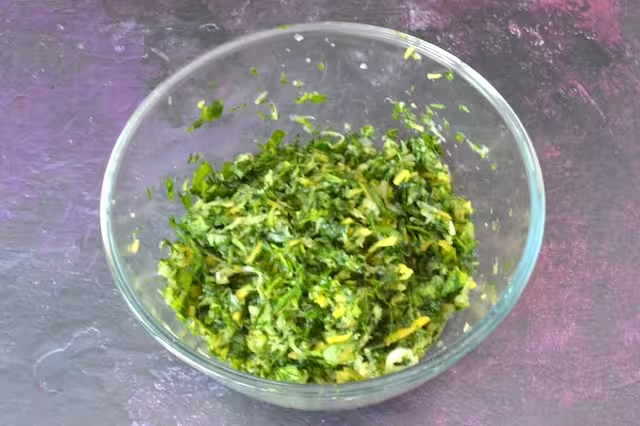
Sadly, the lovely vibrant green from the carrot tops, dulls as the vegetables ferment, so savour the colour whilst your making it.
Step 6. Jar Up
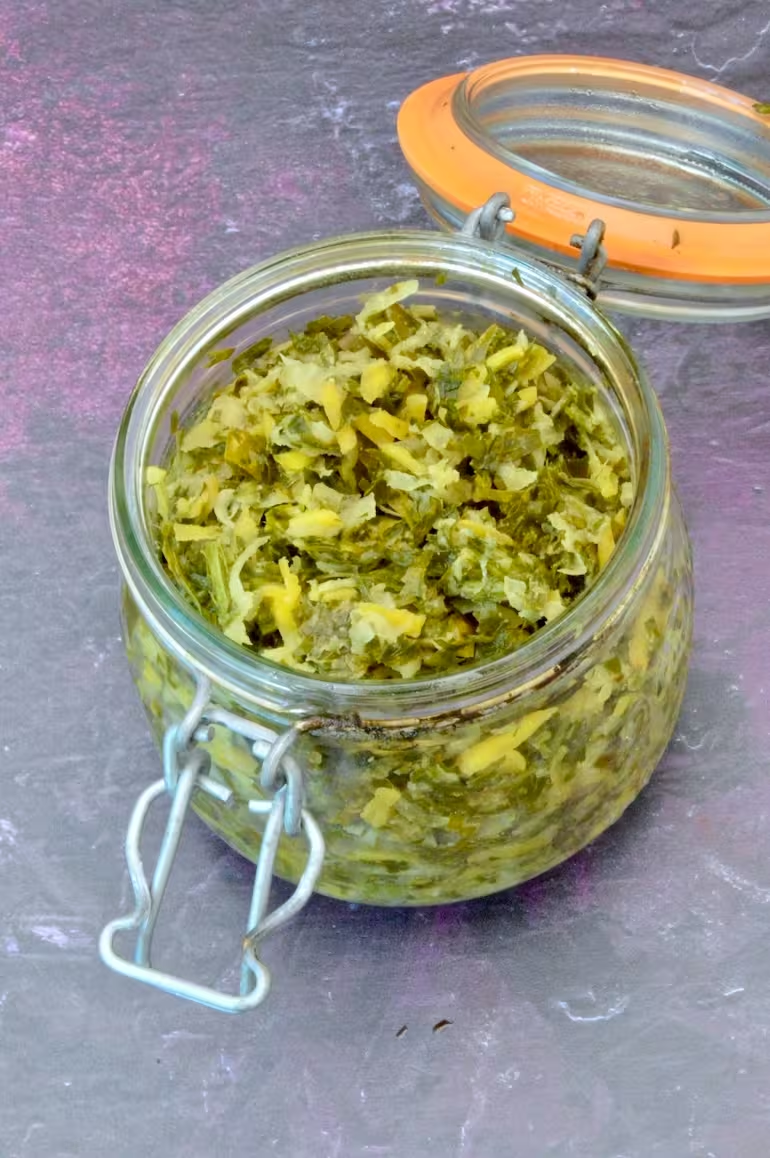
Transfer the mix, including all of the liquid into a sterilised 500ml glass jar – see my post on how to sterilise glass jars. A clip top jar is perfect for ferments.
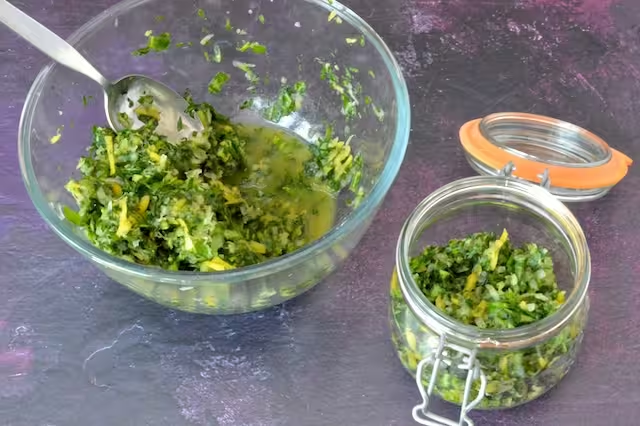
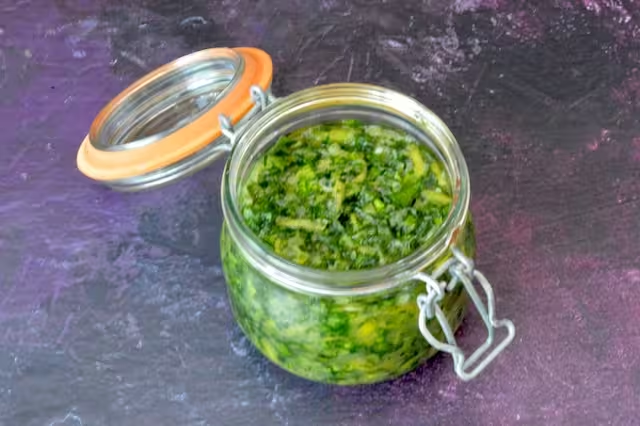
Pack the veg down well with the back of a spoon to ensure there are no air pockets. Make sure there’s a good two centimetre (half inch) gap between the brine and the top of the jar.
Top Tip – 500g of veg and a little bit more will fit into a 500ml jar.
As the vegetables need to be submerged in the liquid, you’ll need to weigh them down with something. Take one of the older kohlrabi leaves and lay it across the top, then use something small, flat and heavy to go on top. I use a pebble.
Seal the jar and leave it in a shady part of the kitchen to ferment at room temperature for four to seven days. How long you leave it will depend on how sour you like your ferments. Start checking it for taste after four days.
Top Tip – Stand the jar on a plate, just in case it leaks.
Burp the jar once a day to release any gasses that have built up. This is important to prevent the jar from cracking.
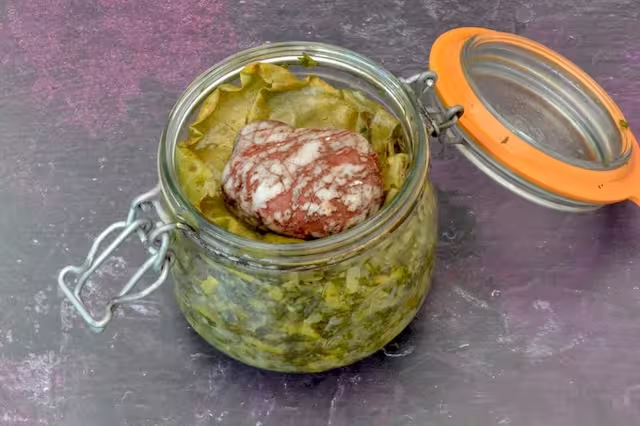

As soon as the ferment is to your liking, remove the top leaf and stone. Close the lid and transfer to the fridge where it will keep for several weeks, although the flavour will continue to develop. You can eat it straight away or not, but little and often is best.
Other Fermented Food Recipes You Might Like
Keep in Touch
Thank you for visiting Tin and Thyme. If you make this fermented kohlrabi recipe, I’d love to hear about it in the comments below. Do you have any recommendations or tips for fermenting vegetables?
Please rate the recipe too. And do tag me @choclette8 on Instagram with your images, I really enjoy seeing your take on my recipes.
For more delicious and nutritious recipes follow me on Twitter, Facebook, Instagram, Flipboard or Pinterest. And don’t forget to SUBSCRIBE to my weekly newsletter. Or why not join the conversation in our Healthy Vegetarian Whole Food Recipes Facebook Group?
If you’d like more kohlrabi recipes, I only have one other at the moment, but I do have a couple of other carrot top recipes. All delicious and nutritious, of course.
Choclette x
Fermented Kohlrabi and Carrot Tops. PIN IT.
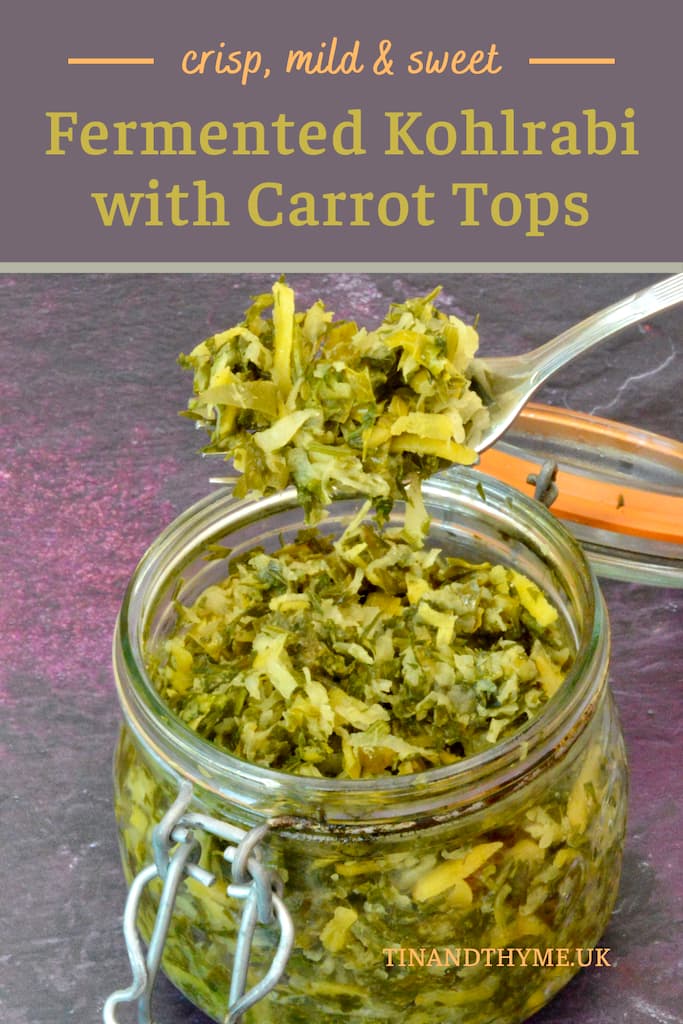
Fermented Kohlrabi with Carrot Tops
This vibrant green fermented kohlrabi combines kohlrabi with carrot tops, carrot, spring onion and coriander for a fresh, crunchy kraut-style ferment. If you’re new to fermenting vegetables it’s a good one to start with as it ferments quickly and easily. It’s crisp, mild, sweet and slightly fizzy – a delicious addition to sandwiches, grain bowls, cheese boards and more.
Toggle to keep screen awake
Servings: 20 servings
Calories: 9kcal
- 300 g kohlrabi peeled weight
- 1 carrot weighing about 80g
- 1 spring onion (scallion) weighing about 20g
- 80 g carrot tops
- 30 g kohlrabi leaves
- 10 g sea or rock salt (I used grey Celtic sea salt (affiliate link))
- 1 tsp ground coriander
-
Remove the leaves from the kohlrabi and put them to one side. Peel off the skin and fibrous outer layer then grate the bulb into a large mixing bowl.
300 g kohlrabi
-
Scrub the carrot, top and tail it, then grate it into the bowl.
1 carrot
-
Trim the onion, then finely slice and add to the bowl.
1 spring onion (scallion)
-
Remove the hard stems from the carrot tops and discard. Finely chop the fronds and add to the bowl.
80 g carrot tops
-
Finely slice the younger kohlrabi leaves and add them to the bowl.
30 g kohlrabi leaves
-
Spoon in the salt and coriander, then scrunch everything together with clean hands. Keep scrunching until you’ve extracted a decent amount of juice. Kohlrabi is quite watery, so it only takes a minute or so.
10 g sea or rock salt, 1 tsp ground coriander
-
Transfer the mix, including all of the liquid into a sterilised 500ml glass jar and pack it down well with the back of a spoon to ensure there are no air pockets. A clip top jar is perfect. Make sure there’s a good 2cm, half inch of headroom between the brine and the top of the jar.
-
As the vegetables need to be submerged in the liquid, you’ll need to weigh them down with something. Take one of the older kohlrabi leaves and lay it across the top, then use something small, flat and heavy to go on top. I use a pebble.
-
Seal the jar and leave it in a shady part of the kitchen to ferment at room temperature for four to seven days. How long you leave it will depend on how sour you like your ferments.
-
Burp the jar once a day to release any gasses that have built up. This is important to prevent the jar from exploding.
-
As soon as the ferment is to your liking, transfer to the fridge where it will keep for several weeks, although the flavour will continue to develop.
Top Tip – Use as you would sauerkraut or kimchi.
Serving: 25g | Calories: 9kcal | Carbohydrates: 2g | Protein: 1g | Fat: 0.1g | Saturated Fat: 0.01g | Polyunsaturated Fat: 0.02g | Monounsaturated Fat: 0.02g | Sodium: 200mg | Potassium: 70mg | Fiber: 1g | Sugar: 1g | Vitamin A: 671IU | Vitamin C: 14mg | Calcium: 23mg | Iron: 0.5mg
This post contains affiliate links which are marked with an asterisk* or (affiliate link). If you buy through a link, it won’t cost you any more, but I might get a small commission. Thank you for your support of the brands and organisations that help to keep Tin and Thyme blithe and blogging.