

Harvesting onions is only half the job. If you want those bulbs to last through fall and winter, they need time to dry and form a protective seal before going into storage. This process is called curing.
Curing dries the onion’s neck, roots and outer layers. Done properly, it helps prevent moisture and disease organisms from entering the bulb. Done poorly, it can leave you with sprouting, soft spots or a crate full of rotting onions.
The process isn’t difficult, but airflow, humidity and timing matter—especially when you’re harvesting during a wet Canadian fall.
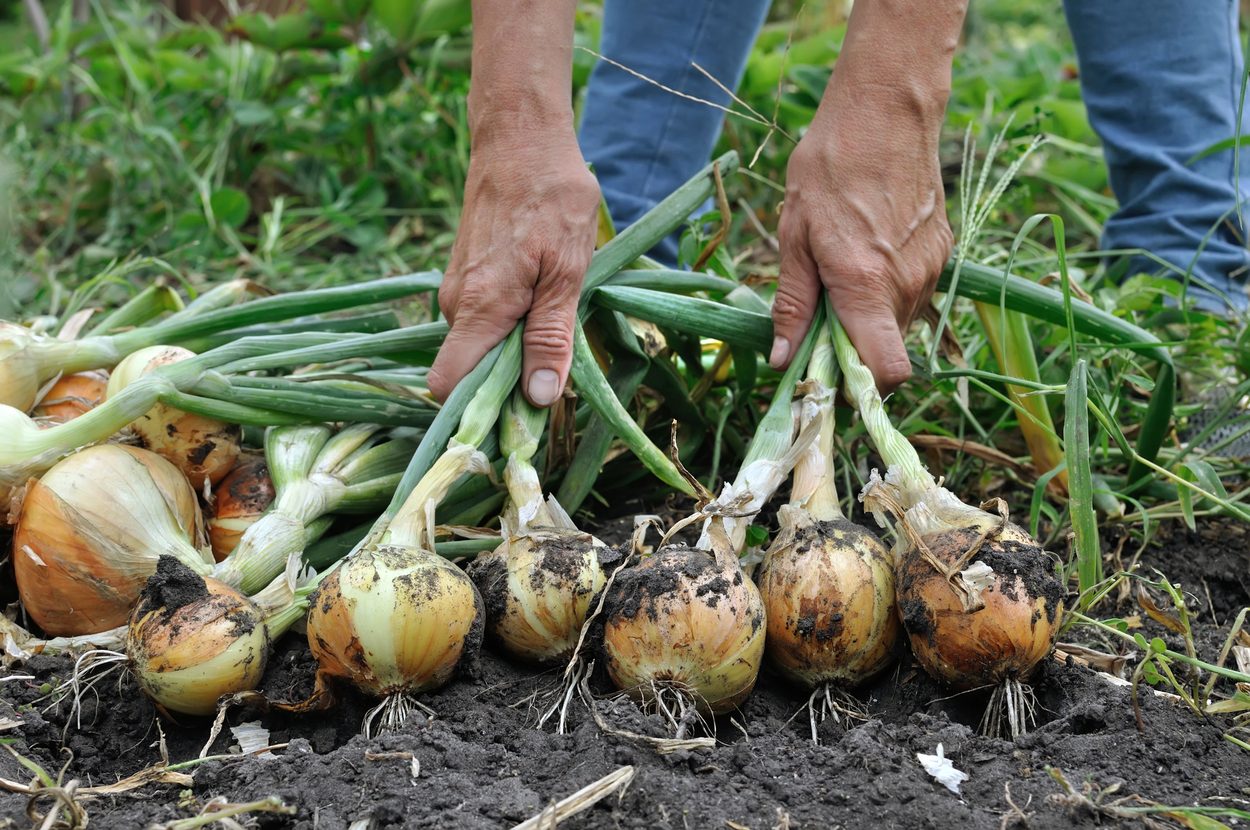
The Short Answer
To cure onions, spread freshly harvested bulbs in a single layer somewhere warm, dry and well ventilated. Leave the tops and roots attached and allow the onions to dry for approximately two to three weeks.
🐝 Fan Favorite
“Feed the Bees” Garden Sign
Give your wildflower patch a pop of color and let your neighbors know there’s purpose in your plants.
Delivered in 5–7 days
- Hand-illustrated design
- Recycled aluminum — won’t fade, rust, or crack
- Plants 1 real tree in the Monarch Corridor
🦋 Every sign funds a tree planted in the North American Monarch Corridor — at no extra cost to you.
The onions are ready for storage when:
- The necks are completely dry and tight
- The outer skins feel papery
- The skins rustle when handled
- The roots are dry and wiry
- The leaves contain no remaining green tissue
Once cured, trim the tops to approximately 1 inch above the bulbs, remove the dry roots and place the onions in a cool, dark location with good airflow.
If your onions are still in the garden, start with my guide to knowing when onions are ready to harvest.
What Does Curing an Onion Actually Do?
A freshly harvested onion still contains moisture in its roots, neck and outer scales. Those areas need to dry before the bulb is placed into long-term storage.
As the onion cures, its outer layers become papery and the neck closes. This creates a natural barrier that helps protect the fleshy layers inside.
According to Agriculture and Agri-Food Canada, curing dries the outer scales and neck, forming a seal that helps prevent pathogens from entering the bulb.
Curing is not the same as simply leaving onions somewhere until you remember them. Successful curing requires:
- Low surface moisture
- Continuous air movement
- Protection from rain
- Enough warmth to encourage drying
- Regular checks for damaged or decaying bulbs
Which Onions Need to Be Cured?
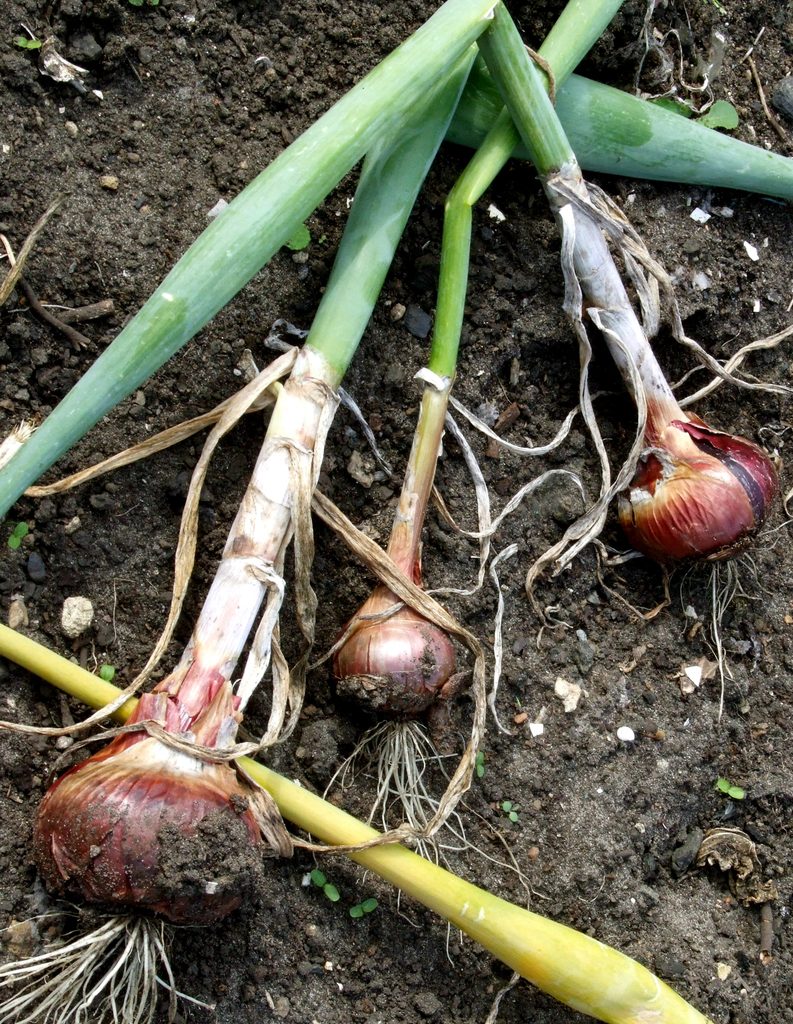
Cure onions that you intend to keep as dry storage onions.
Pungent yellow storage varieties generally keep the longest, followed by many red and white varieties. Sweet onions have more moisture and usually have a much shorter storage life.
The USDA’s Agricultural Research Service storage guide reports that pungent dry onions can last six to nine months under carefully controlled commercial conditions, while mild or sweet onions generally last only one to three months.
Your results at home will depend on the cultivar, how mature the onions were at harvest, the quality of the curing process and your storage conditions.
You don’t need to cure:
- Green onions
- Scallions
- Onions harvested early for immediate use
- Badly damaged onions
- Bulbs that are already soft or decaying
Refrigerate and use fresh onions promptly instead.
Before Curing: Sort the Harvest
Inspect every onion before placing it in your curing area. One damaged bulb can introduce moisture and decay to the onions around it.
Separate any onions with:
- Cuts or punctures
- Bruising
- Soft or water-soaked areas
- Insect damage
- Split skins
- Sunscald
- Thick, succulent necks
- Flower stalks from bolting
- Signs of mould or decay
These onions may still be usable if the damage is minor, but they should be kept out of the storage crop and eaten first.
Handle good storage onions gently. Agriculture and Agri-Food Canada warns that wounds and bruises increase an onion’s susceptibility to pathogens during storage.
Should You Wash Onions Before Curing?
Don’t wash onions that you intend to store.
Water can collect around the neck and between the outer scales, slowing the drying process and creating better conditions for rot.
Instead:
- Shake off loose soil at harvest.
- Allow damp soil to dry naturally.
- Brush away the remaining dry soil with your hands or a soft brush.
- Avoid peeling away intact outer layers.
A little dry soil will not hurt the curing process. Excess moisture will.
Should You Cut the Tops Off Before Curing?
Leave the tops attached until they are completely dry.
The leaves and neck still contain moisture immediately after harvest. Cutting through that damp tissue creates an open wound at the top of the bulb.
Keeping the foliage attached allows the neck to dry and close naturally. Once the neck is tight and no green tissue remains, the dry tops can be trimmed safely.
The same applies to the roots. Leave them attached during curing and trim them afterward.
How to Cure Onions Step by Step
1. Choose a Warm, Dry Location
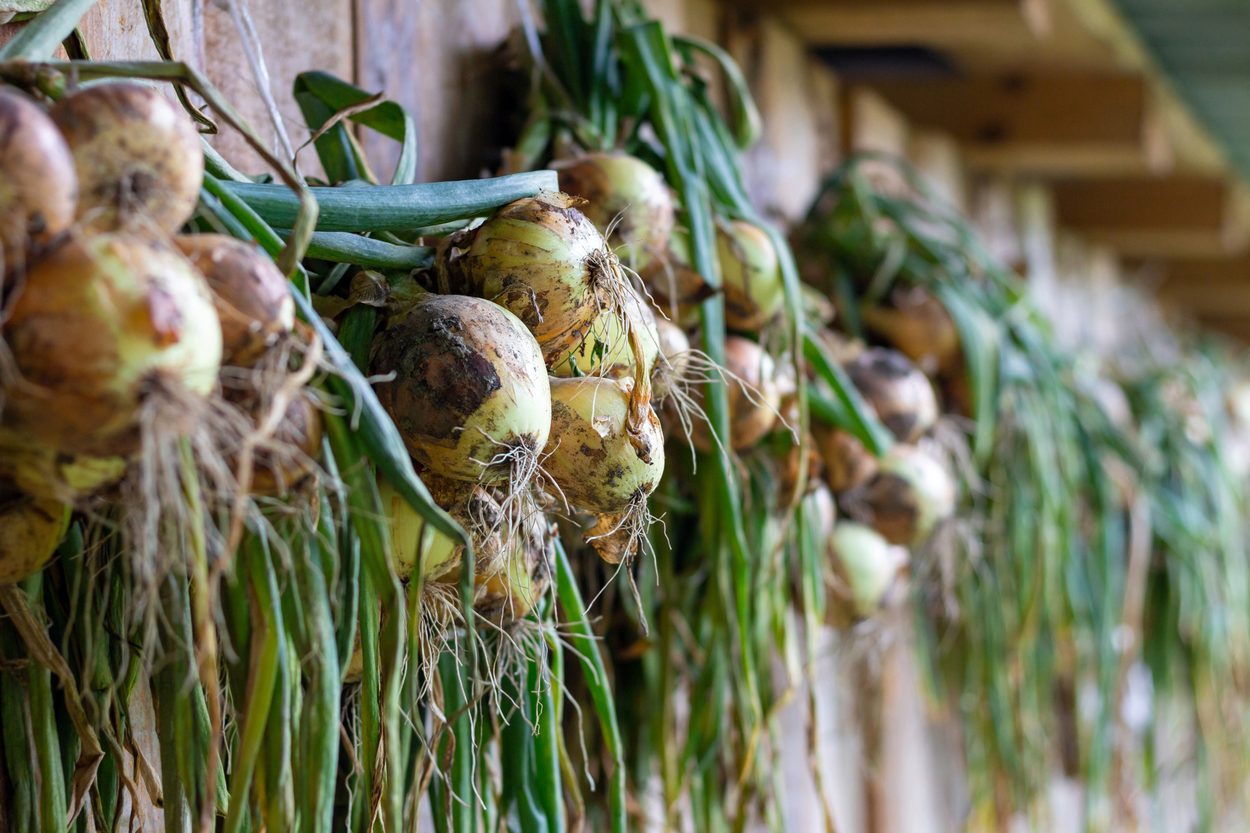
The ideal curing location is protected from rain, shaded from intense sunlight and open enough for air to move around the bulbs.
Possible locations include:
- A covered porch
- A garden shed
- A garage
- A barn
- A greenhouse with shade and ventilation
- An airy spare room
- A covered outdoor rack
Commercial Canadian growers may cure onions for approximately two weeks using forced air at 24–27°C (75–81°F). Home gardeners don’t need a controlled system, but the same principles apply: warmth, dry air and consistent ventilation.
A slightly cooler location can still work. The onions will simply take longer to dry.
Avoid a closed, humid basement during the initial curing stage. Many basements are cool enough for storage but too damp and still for drying freshly harvested onions.
2. Arrange the Onions in a Single Layer
Spread the onions so air can move around each bulb.
Good surfaces include:
- Wire racks
- Slatted shelves
- Mesh screens
- Clean, dry tables
- Shallow crates
- Cardboard placed in a dry room
A screen or wire rack is especially useful because it allows air to reach the underside of the bulbs.
Don’t place freshly harvested onions into deep buckets, boxes or sacks. The bulbs in the centre will remain damp while the outer onions dry.
If you have no choice but to cure onions on a solid surface, turn them gently every few days.
3. Keep the Tops Spread Out
Arrange the leaves loosely rather than piling them together.
The foliage contains a surprising amount of moisture. A dense mat of onion tops can trap that moisture around the necks and slow the entire process.
You can lay the foliage beside the bulbs or drape it over the edge of a rack. The goal is simply to prevent a wet, tangled pile.
4. Provide Continuous Airflow
Airflow is one of the most important parts of curing onions.
Open doors or vents when weather permits. If the air is still or humid, use a basic household fan on a low setting to keep it moving through the room.
The fan does not need to blast directly at the onions. Gentle circulation throughout the space is enough.
Check the onions after rain or during periods of high humidity. If their skins or foliage begin feeling damp again, increase ventilation.
5. Protect the Bulbs From Strong Sun
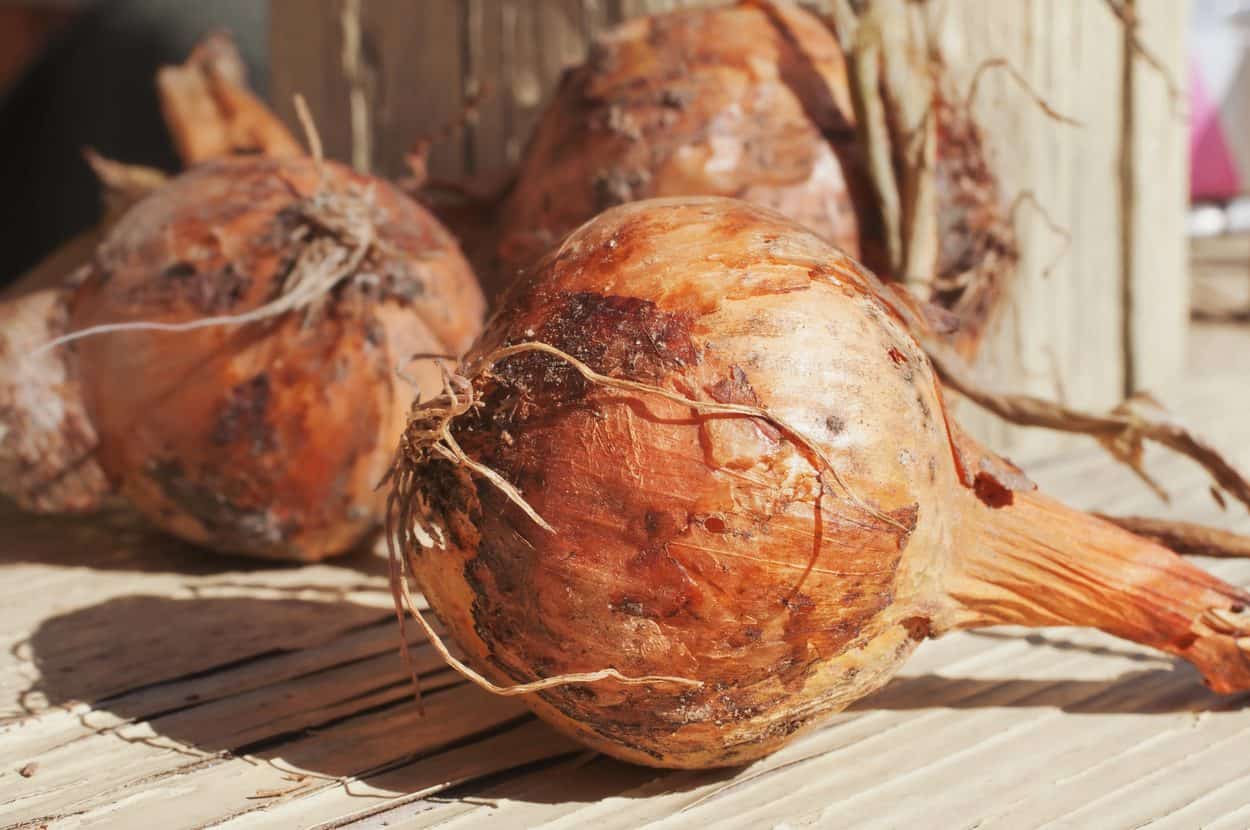
Some field drying can be useful when the weather is mild and dry, but intense sun can overheat exposed bulbs and cause sunscald.
Agriculture and Agri-Food Canada notes that strong sunshine and high temperatures during curing can damage onions. It also recommends using foliage to help protect bulbs from direct sunlight during field curing.
For a home harvest, I prefer moving onions into bright shade or under cover rather than leaving them exposed in full afternoon sun.
Warm air helps. Baking the bulbs does not.
6. Let the Onions Cure for Two to Three Weeks
Most homegrown onions need approximately two to three weeks to cure under favourable conditions.
Iowa State University Extension recommends curing onions in a warm, dry, well-ventilated location for two to three weeks.
The exact time will vary:
- Warm, dry conditions speed curing.
- Cool weather slows it.
- Humidity slows it.
- Thick-necked onions take longer and may never cure well.
- Large bulbs may require more time than small ones.
Don’t move onions into storage based only on the number of days that have passed. Check the bulbs themselves.
How to Tell When Onions Have Finished Curing
A properly cured onion should feel very different from one that has just been harvested.
Look for all of the following:
The Neck Is Completely Dry
Pinch the neck just above the bulb. It should feel tight, thin and dry without any soft or moist tissue inside.
A neck that still feels thick, slippery or succulent needs more time.
The Outer Skins Rustle
The outer scales should be dry enough to make a papery rustling sound when you handle the bulb.
The USDA describes drying as complete when the neck is tight, the outer scales are dry and the skins rustle when touched.
The Roots Are Brittle
Fresh onion roots are flexible. Cured roots become dry, wiry and easy to rub or trim away.
The Tops Contain No Green Tissue
The leaves should be brown and completely dry from the tips down to the neck.
If the foliage is still green near the bulb, leave it attached and continue curing.
The Bulb Feels Firm
A cured storage onion should feel solid. Soft areas, wet patches and unpleasant odours indicate deterioration rather than successful curing.
How to Cure Onions When the Weather Is Wet
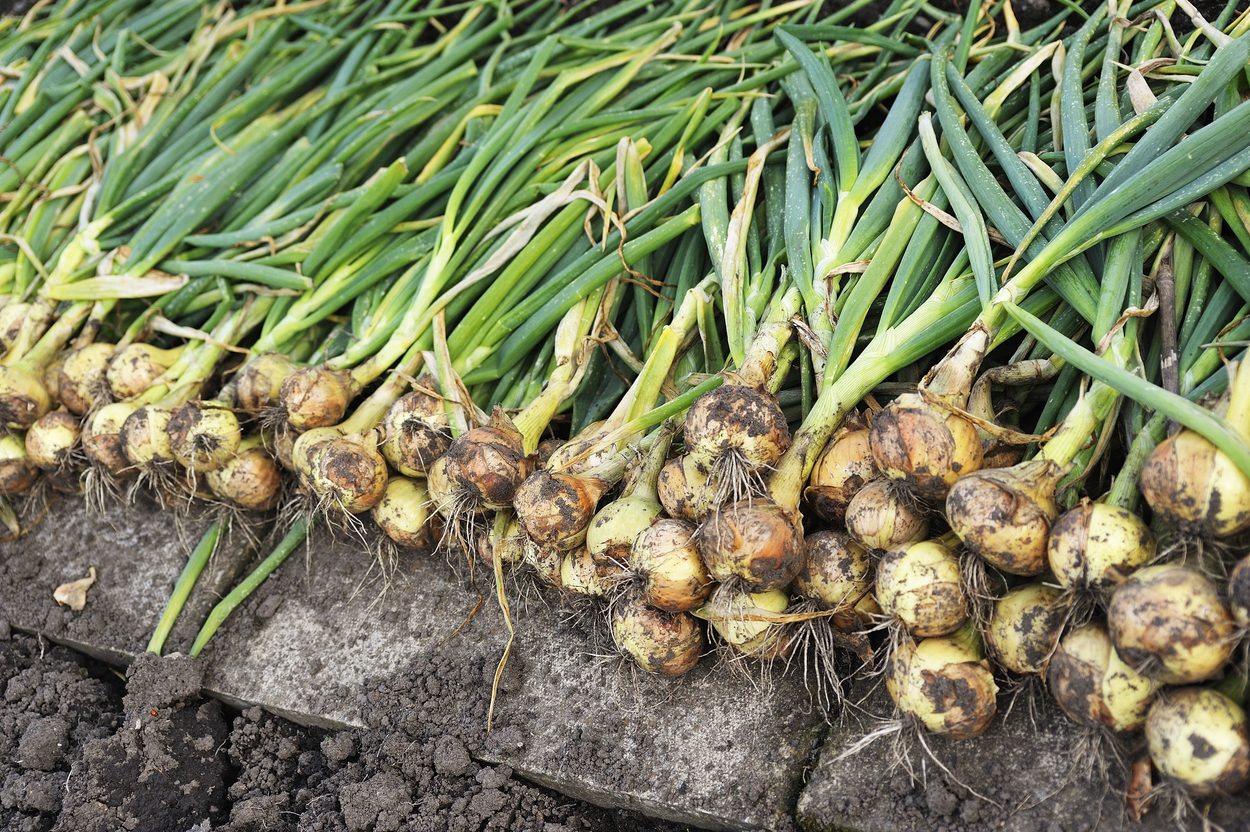
Wet harvest weather is common in many Canadian gardens, but it doesn’t have to ruin your onions.
Move the bulbs under cover as soon as they are lifted. Don’t leave them sitting on wet soil or exposed to repeated rainfall.
For wet-weather curing:
- Remove loose clumps of mud without washing the bulbs.
- Arrange the onions on elevated screens or racks.
- Leave more room between bulbs than usual.
- Run a fan to improve circulation.
- Open doors or windows when outdoor humidity is lower.
- Turn the bulbs periodically.
- Remove any onion that develops a soft spot or mould.
Don’t trim wet tops to make the onions fit your space. Arrange them in smaller groups or use additional racks instead.
Wet onions may take longer than three weeks to cure. Let the condition of the neck and skins determine when they are finished.
Can You Cure Onions in a Garage?
A garage can be an excellent curing location if it remains dry and has some ventilation.
Place the onions on racks rather than directly on a concrete floor. Concrete can remain cool and may contribute to condensation beneath the bulbs.
Keep the onions away from:
- Vehicle exhaust
- Gasoline and chemicals
- Leaking doors
- Damp walls
- Direct afternoon sun through a window
- Areas where temperatures may fall below freezing
A garage that works well in August may become too cold later in fall. Once the onions are cured, monitor nighttime temperatures and move them before the space freezes.
Can You Cure Onions in a Greenhouse?
A greenhouse works when it is shaded and well ventilated, but it can become dangerously hot in direct sun.
If using a greenhouse:
- Place the onions on raised racks.
- Use shade cloth if necessary.
- Keep doors and vents open.
- Run a circulation fan.
- Check bulb temperature during sunny afternoons.
- Move the onions if the space becomes excessively hot.
A greenhouse that feels pleasant in the morning can become hot enough to cause sunscald by afternoon.
Trimming Onions After Curing
Once the neck and foliage are completely dry, prepare the onions for storage.
Use clean scissors or pruners to cut the tops approximately 1 inch above the bulb. Avoid cutting into the neck itself.
Trim the dry roots close to the base without damaging the root plate.
Brush off loose soil and any outer skin that is already detached, but don’t deliberately peel the onion. Each intact papery layer adds protection.
This is also your final opportunity to inspect the bulbs. Set aside onions with thick necks, exposed flesh, soft spots or other damage.
If the leaves remain strong and flexible after drying, you can leave them attached and braid the onions instead.
How to Store Onions After Curing
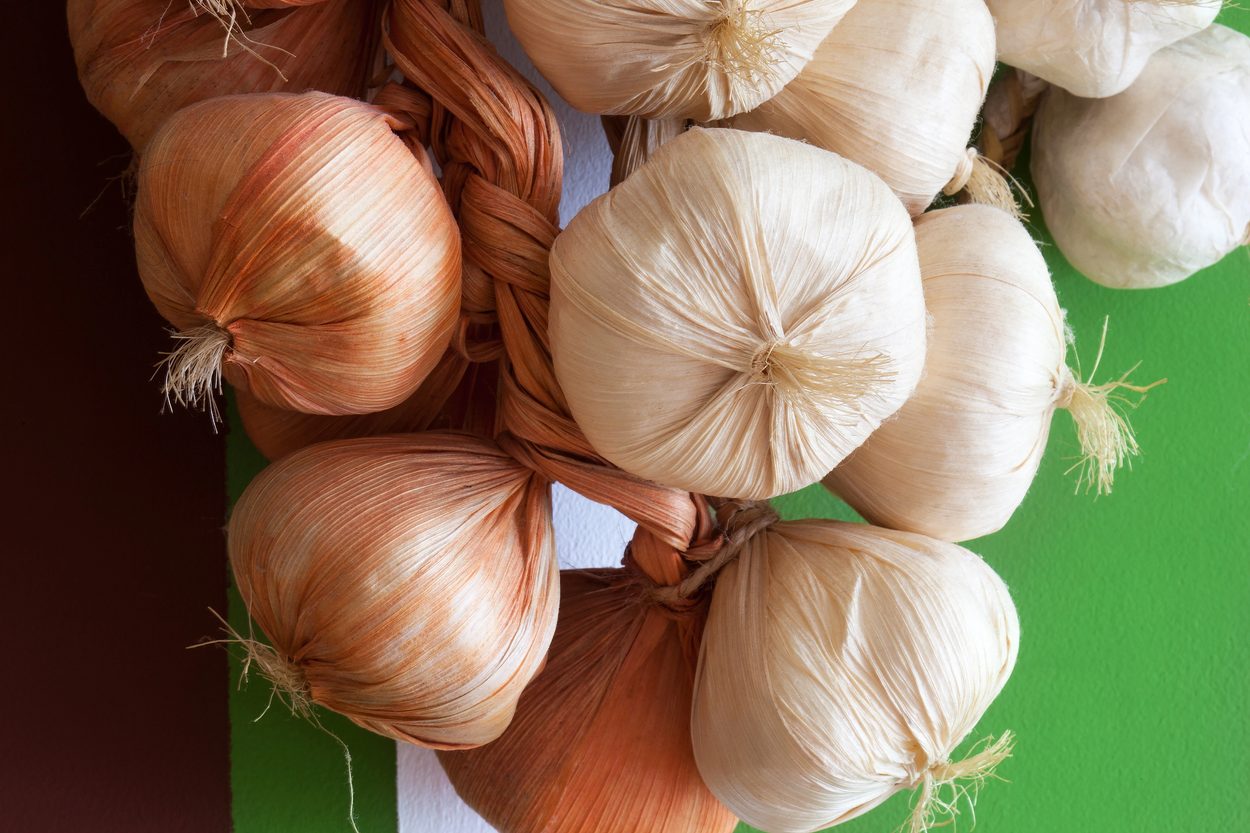
Cured onions need cool temperatures, moderate humidity, darkness and airflow.
Iowa State University Extension recommends storage temperatures of approximately 0–4°C (32–40°F) with relative humidity around 65% to 70%.
These are ideal conditions rather than something every household can reproduce precisely. Suitable home storage locations may include:
- A cold cellar
- A cool, dry basement room
- An insulated garage that remains above freezing
- A ventilated storage room
- A cool pantry for shorter storage
Use containers that allow air to circulate:
- Mesh bags
- Wire baskets
- Slatted crates
- Shallow ventilated boxes
- Nylon stockings
- Braided bundles
Avoid sealed plastic bags and airtight containers. Trapped moisture encourages sprouting and decay.
Don’t pack onions tightly into deep containers. Several shallow layers with good circulation are safer than one densely packed box.
Don’t Let Stored Onions Freeze
Properly cured onions prefer cold conditions, but an uncontrolled freeze can damage them.
Agriculture and Agri-Food Canada explains that freezing exposure can leave onion scales soft and water-soaked and can lead to rapid decay.
This is especially important in Canada. An unheated garage may be ideal in October and completely unsuitable by December.
Place a basic thermometer in the storage area and check it as outdoor temperatures fall. Move the onions before the room drops below freezing.
Check Stored Onions Regularly
Curing reduces storage losses, but it does not make onions maintenance-free.
Inspect the crop every week or two. Remove bulbs that are:
- Sprouting
- Softening
- Developing wet spots
- Growing mould
- Producing an unpleasant smell
- Leaking liquid
Use onions with thick necks or minor damage before the healthiest bulbs.
A single decaying onion is easier to manage when caught early than after it has affected the rest of the container.
Common Onion-Curing Mistakes
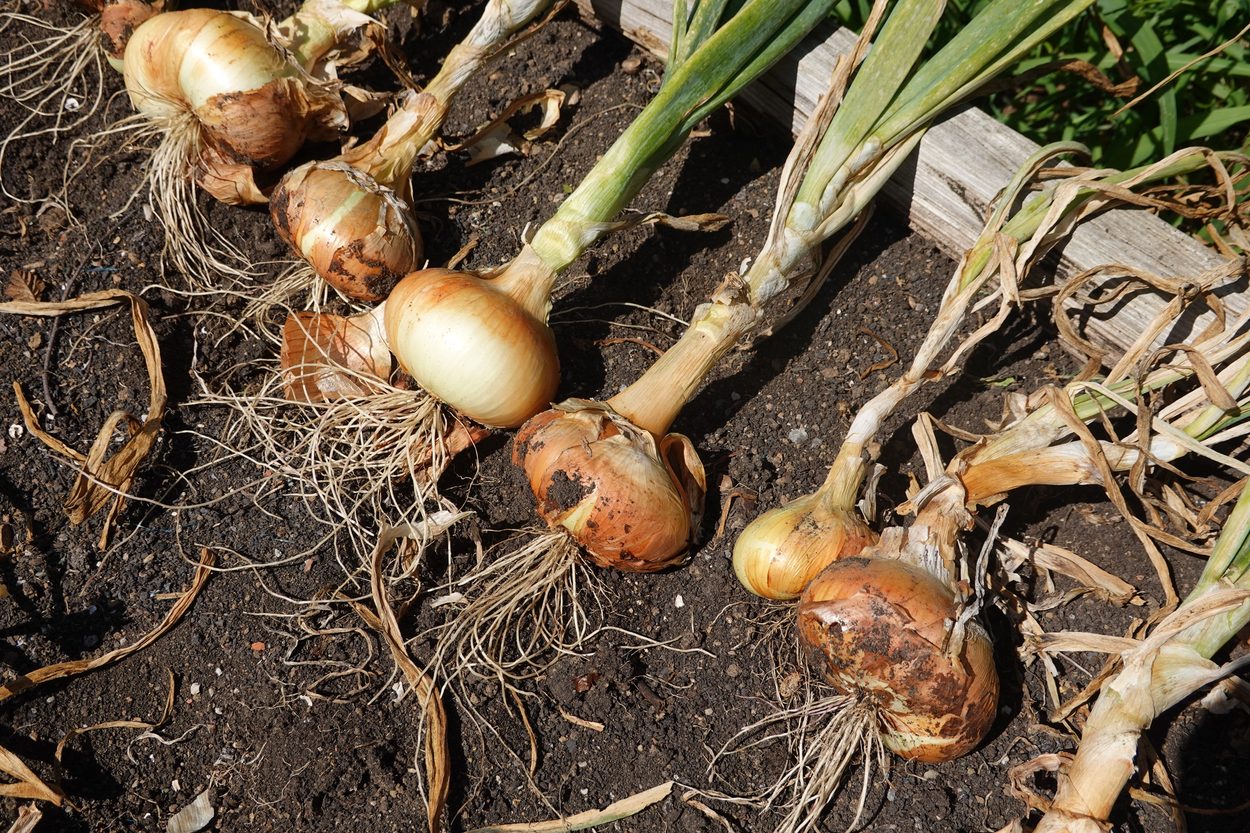
Washing the Bulbs
Washing introduces moisture between the scales and around the neck. Brush away dry soil instead.
Cutting Green Tops
Trimming the foliage before the neck is dry creates an opening into moist tissue. Wait until all green growth has disappeared.
Piling Onions Together
Deep piles trap humidity and prevent the central bulbs from drying. Use a single layer whenever possible.
Curing in a Humid Basement
Cool air is useful for storage, but freshly harvested onions need enough warmth and movement to lose moisture first.
Leaving Onions in Strong Sun
Hot direct sun can cause sunscald. Cure onions in bright shade or a covered, ventilated space.
Storing Thick-Necked Bulbs
A thick neck is difficult to dry and more prone to decay. Use those onions first.
Assuming Every Variety Stores Equally Well
Sweet onions naturally have a shorter storage life than pungent storage varieties. Perfect curing cannot turn a poor keeper into a long-storage onion.
Forgetting About the Crop
Storage problems often begin with one damaged bulb. Inspect stored onions regularly and remove trouble before it spreads.
Frequently Asked Questions
How long should onions cure before storage?
Most onions require about two to three weeks in warm, dry and well-ventilated conditions. Use the condition of the neck, roots and skins—not the calendar alone—to determine when curing is complete.
Can onions be cured indoors?
Yes. A dry room with screens, racks and a fan can work very well. Protect surfaces from loose soil and make sure the room has adequate ventilation.
Can I cure onions without their tops?
It is better to leave the tops attached until the neck is completely dry. If a top was accidentally broken or cut at harvest, keep that onion separate and use it sooner.
Do onions need darkness while curing?
Complete darkness is not required, but avoid intense direct sunlight. Bright shade with good airflow is ideal.
Why are my curing onions turning soft?
Softness can result from harvest damage, immature bulbs, freezing injury, excessive humidity or disease. Remove soft onions immediately rather than trying to cure them longer.
Can a damaged onion still be eaten?
Minor damage can usually be cut away if the remaining onion is firm and shows no evidence of decay. Use it promptly. Discard bulbs that are mouldy, extensively soft, water-soaked or foul-smelling.
How long will cured onions last?
Storage life ranges from a few weeks to several months. Pungent storage cultivars last much longer than sweet onions, particularly when kept cold and moderately dry with good airflow.
Final Thoughts
Successfully curing onions is mostly a matter of controlling moisture.
Leave the roots and tops attached, spread the bulbs in a single layer and give them plenty of warm, moving air. Wait until the necks are tight, the foliage is completely dry and the skins rustle before trimming anything.
After that, keep the onions cool, dark and ventilated—and check them regularly.
Those few weeks of patience between harvest and storage can be the difference between onions that begin rotting in September and a crop you’re still using in the middle of winter.